How I Broke My Commodore 64

If you didn’t read my last post, you’ll need to know that a) about 30 years ago I broke my beloved Commodore 64, and b) I recently bought a new one to pick up where I left off.
I want to tell you how I broke my computer, since that act of carelessness on my part has left me with vague regrets for decades and that machine had shaped my life quite significantly to that point. Before turning back the clock to that story though, let’s look at how I turned back the clock on the one I have now.

Old Yeller
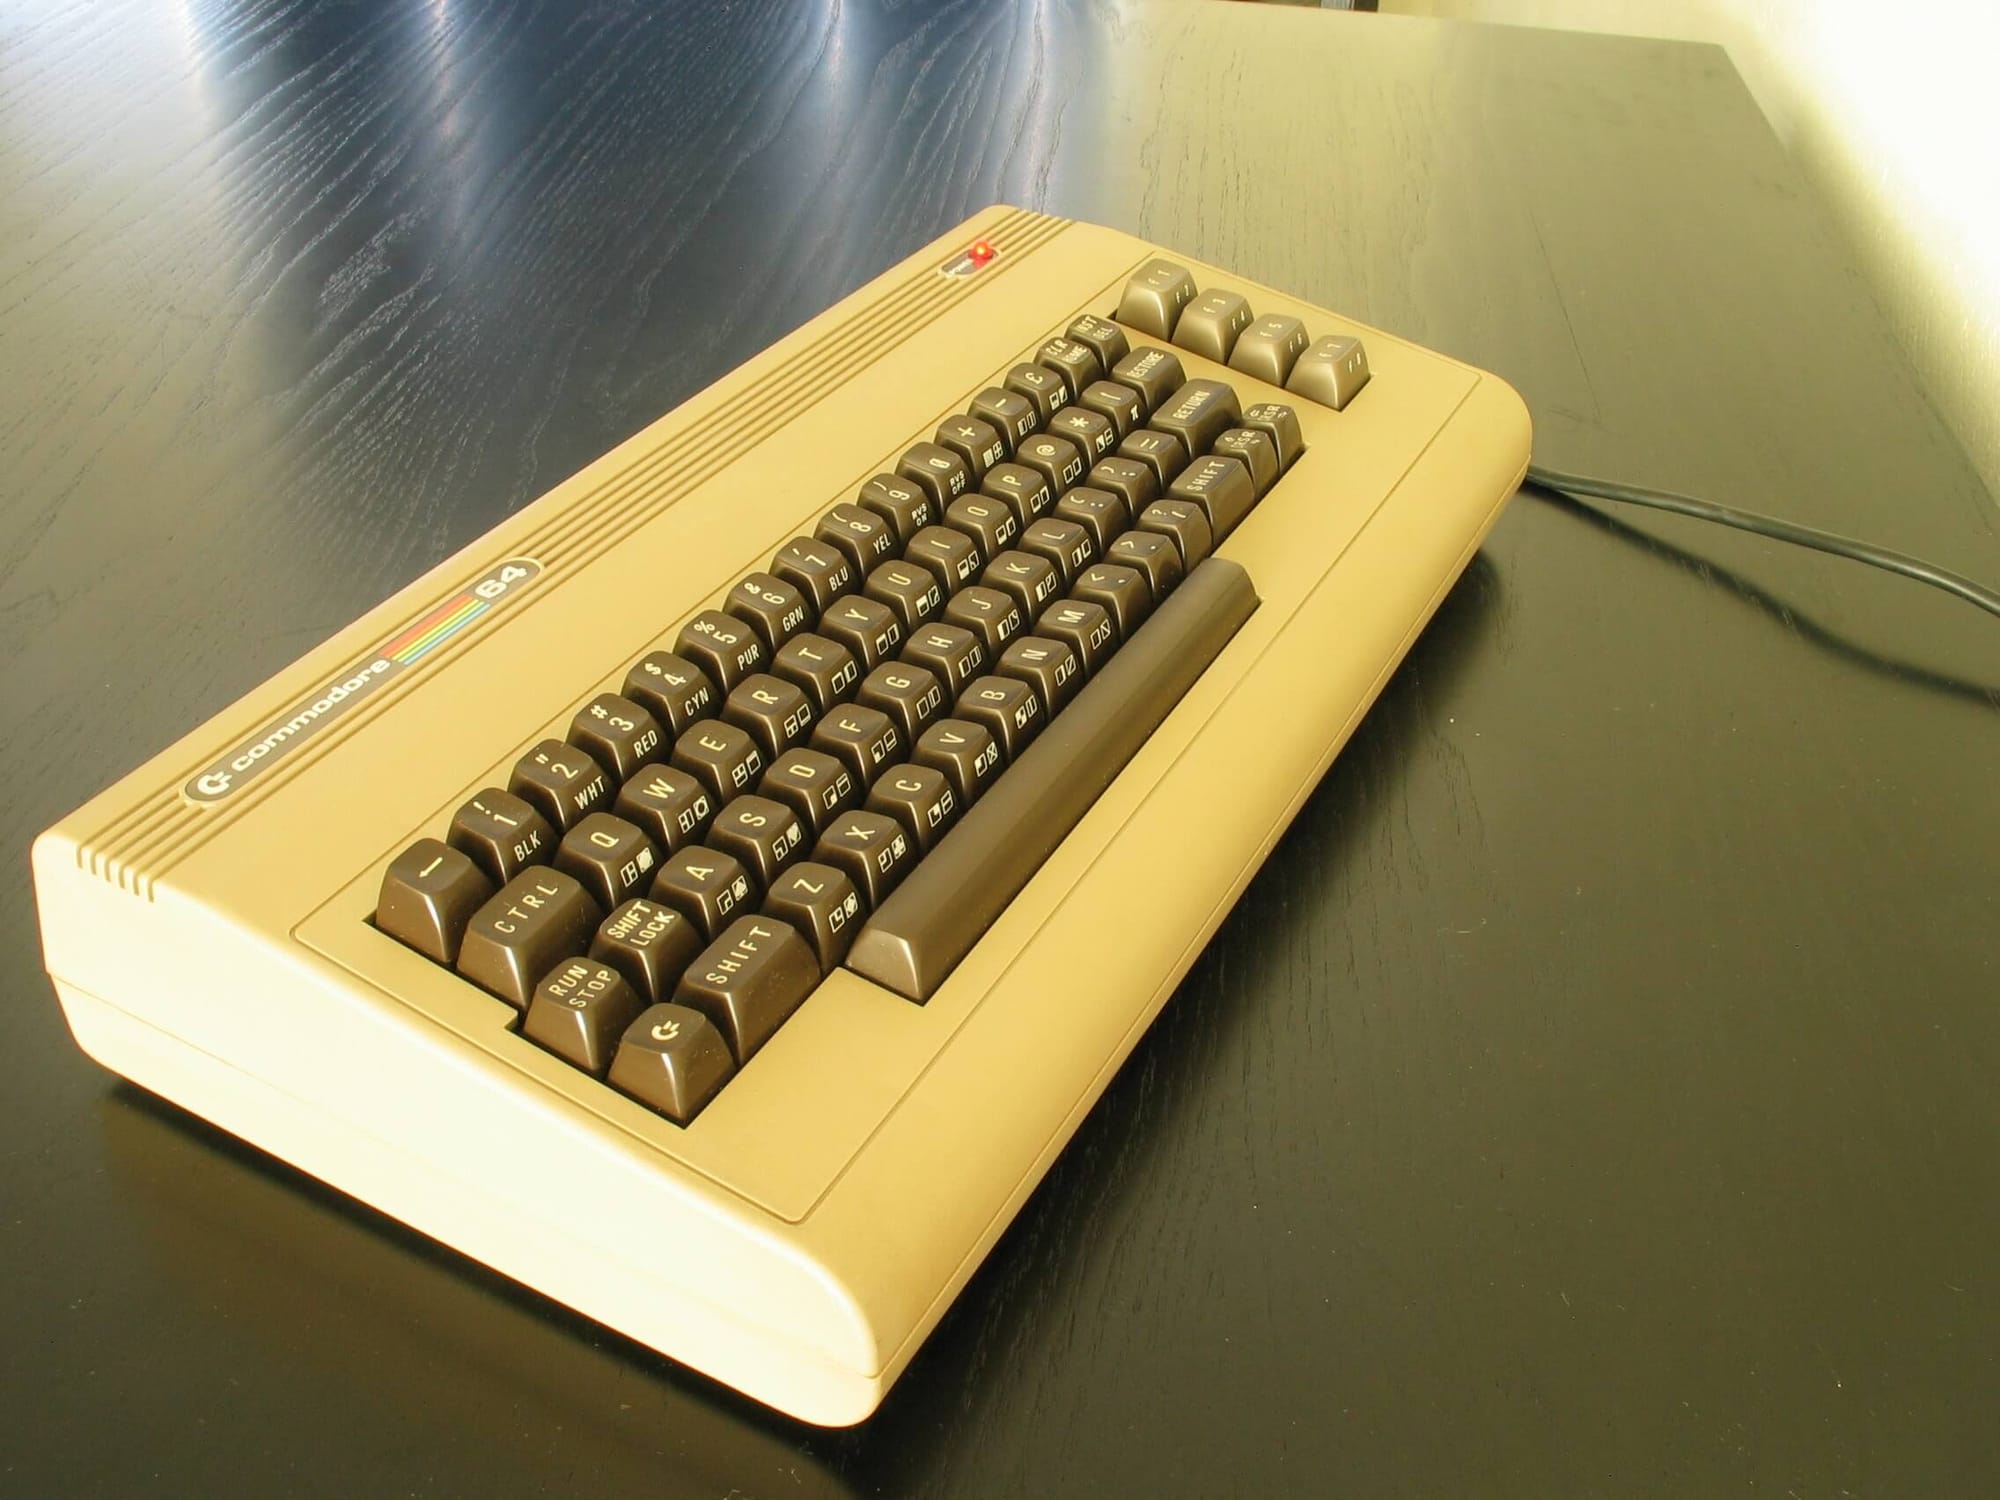
If you’ve spent a lot of time hanging around with old computers (and who hasn’t?) then you’ll be aware that a lot of them tend to take on a distinctly yellow cast after a few years, especially if they start out white or beige. The Commodore 64C cases around today are often pretty good examples of this, but the one I picked up was an extreme case. I took a photo of it with the case from my other C64 overlaid on it once it’d been cleaned. These machines are both the same age.
The difference would be purely down to the amount of sunlight/UV light exposure they’ve experienced. The severely yellowed one has a slightly less affected spot on the back left corner that perfectly represents a shadow that something (likely the monitor) would have cast over it when sitting on a desk. My original one has mostly been in sheds and cupboards all its life. You can see the approximate “correct” shade where the label was removed from the upper case.
It’s important to note that this yellowing is harmless and doesn’t mean the plastic is about to disintegrate or fail in any way. It’s fine and you can just ignore it and go about your day without doing anything about it. Some people feel very strongly that you should leave it alone.
I’m not some people.
Retrobrighting Theory
I’m not going to rehash the various methodologies that people have been discussing for ages. I’ll just run down the basics, what I did, and why I did it that way.
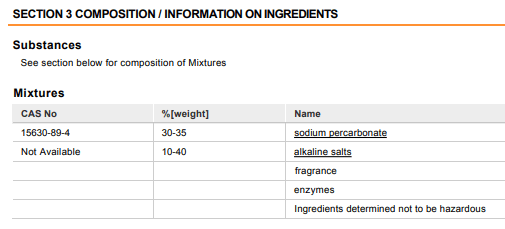
People have observed for a while that a reliable instrument in reversing the yellowing is hydrogen peroxide. There are plenty of guides for using hair salon cremes with plastic wrap, or pure liquid peroxide in water and submerging your cases. People have also added a “laundry booster” as well which is usually a fancy term for a tub of sodium percarbonate.
I’m not a chemist, and I’ll get out of my depth really fast if I try to get into much detail here, but the basic laundry booster theory is that sodium percarbonate in water breaks down into a few other things, one of which is hydrogen peroxide. This implies that you can also skip the original peroxide as well.
If I’m stupidly wrong about any of the above, please let me know. Chemistry is totally not my thing and I’m just regurgitating a ton of things that I’ve picked up recently, and I didn’t go to any great lengths to verify my sources.
Cheapass Chemistry
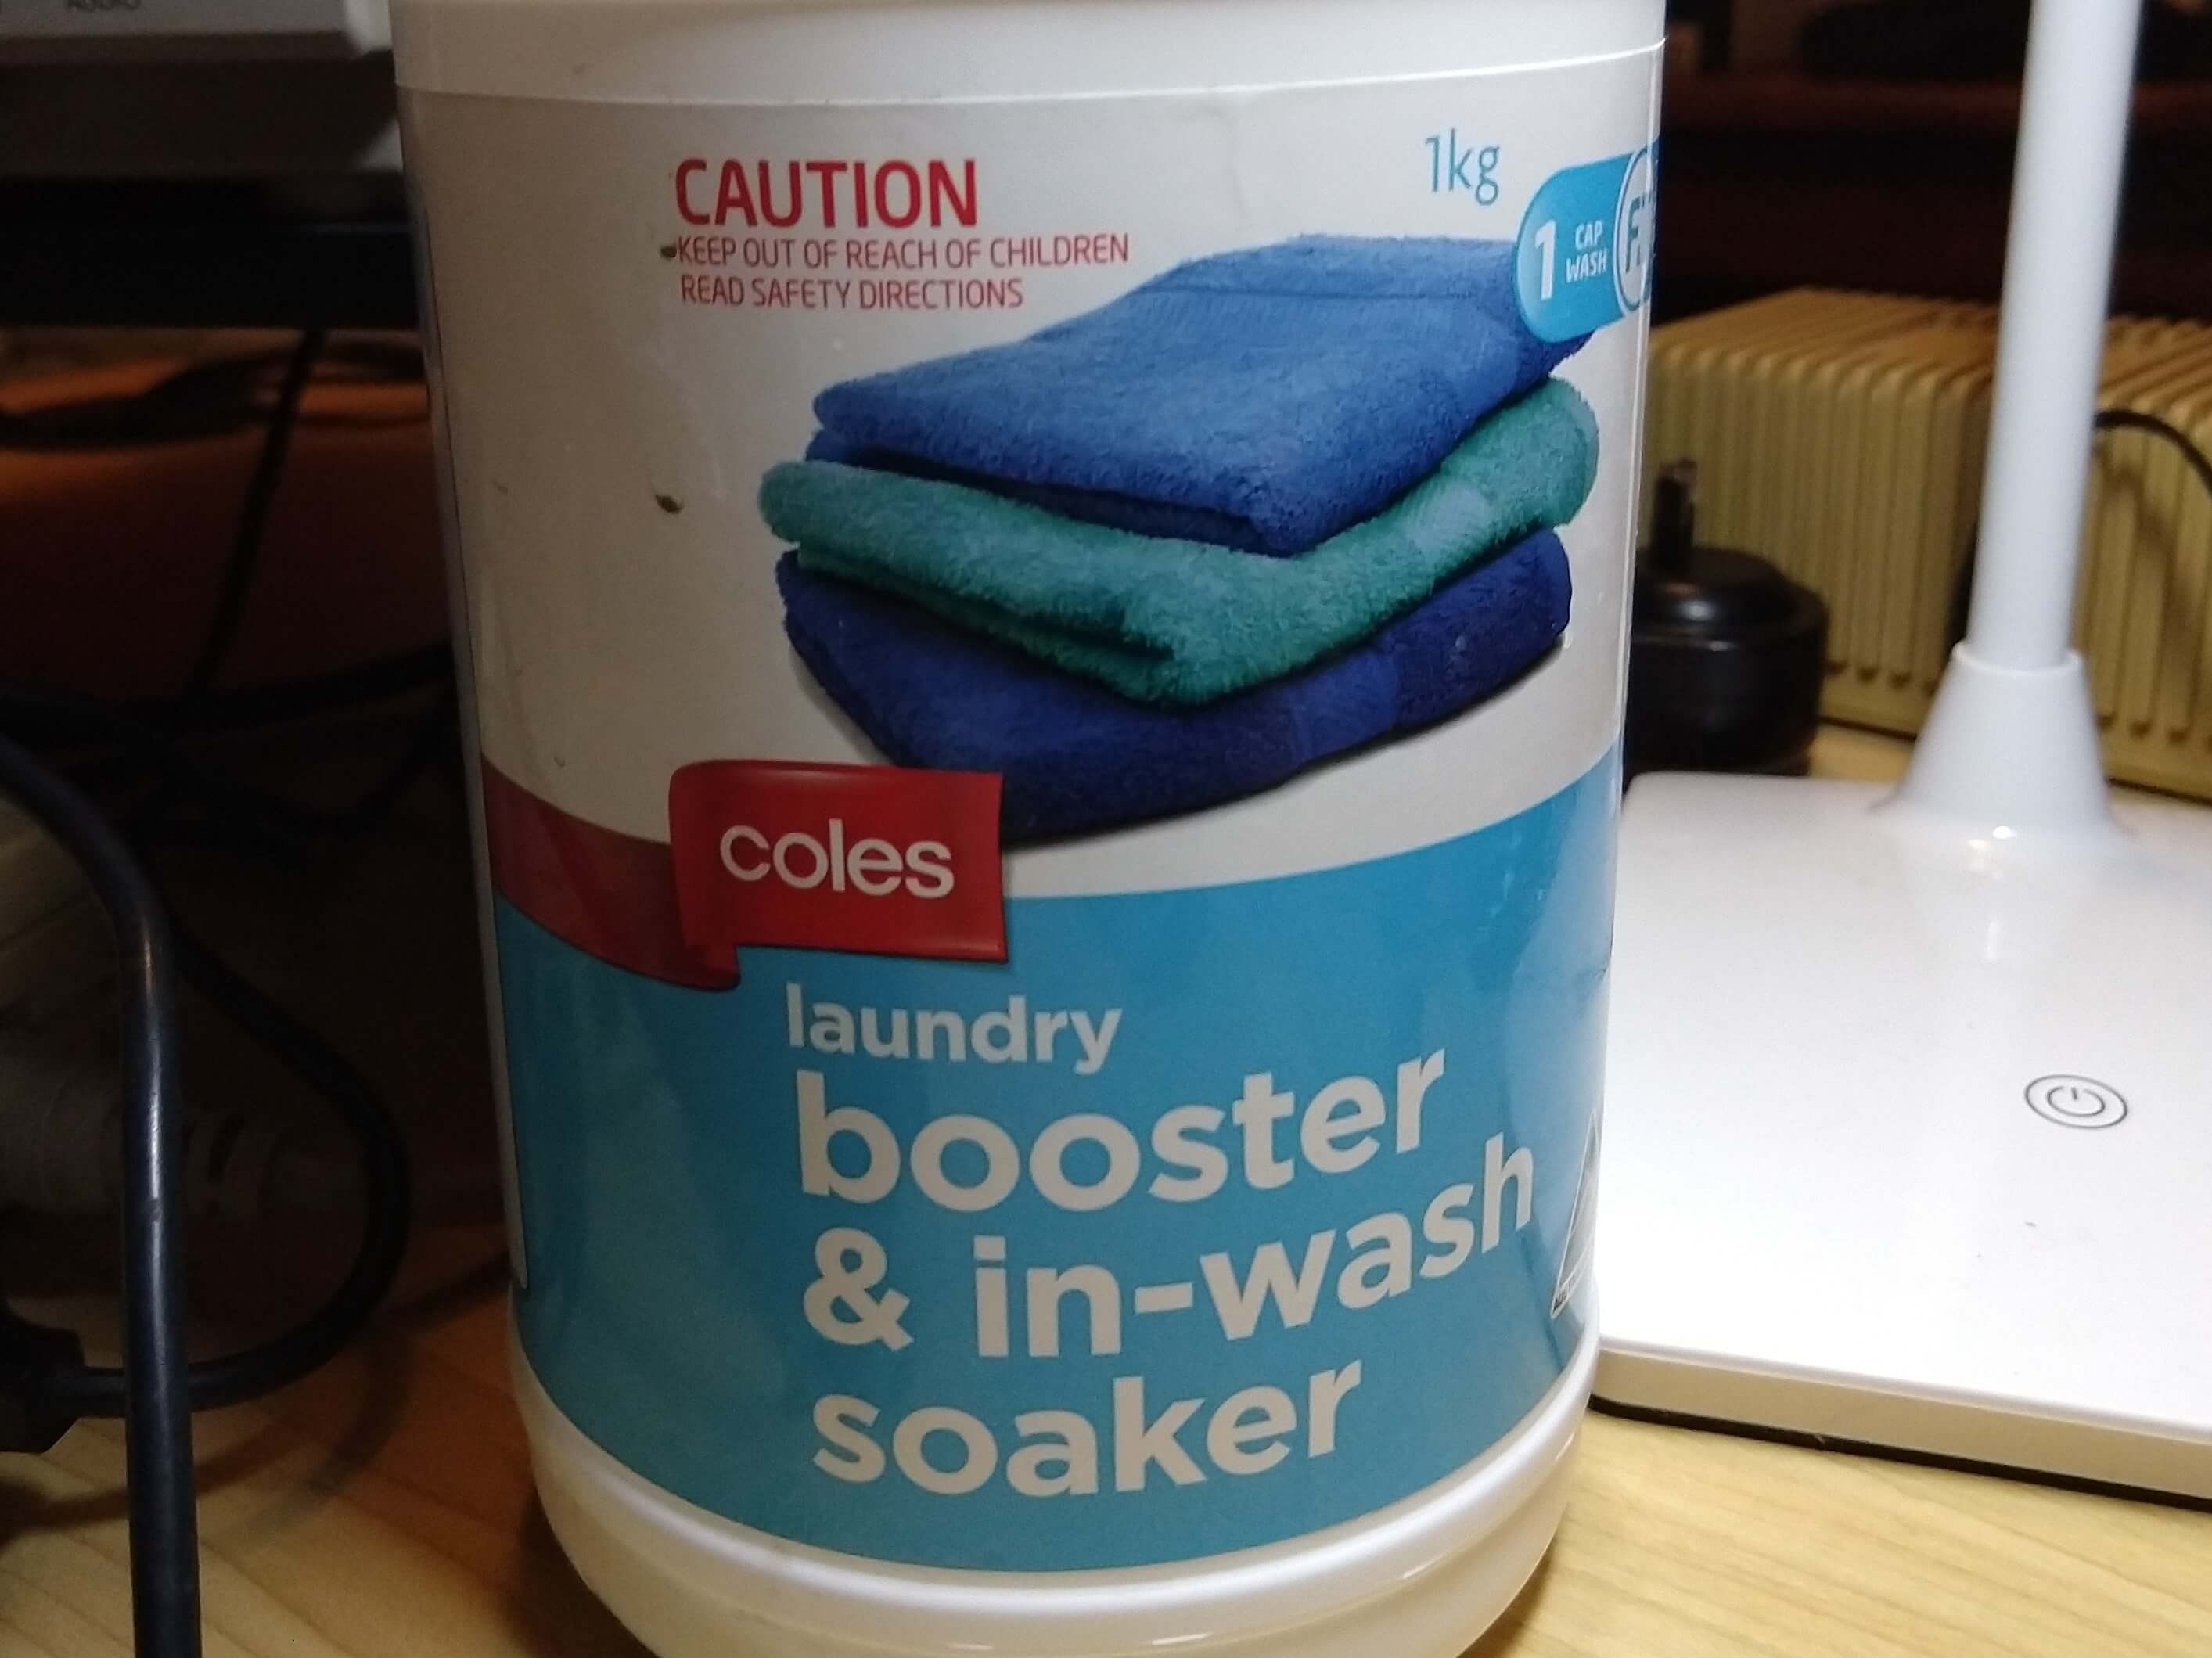
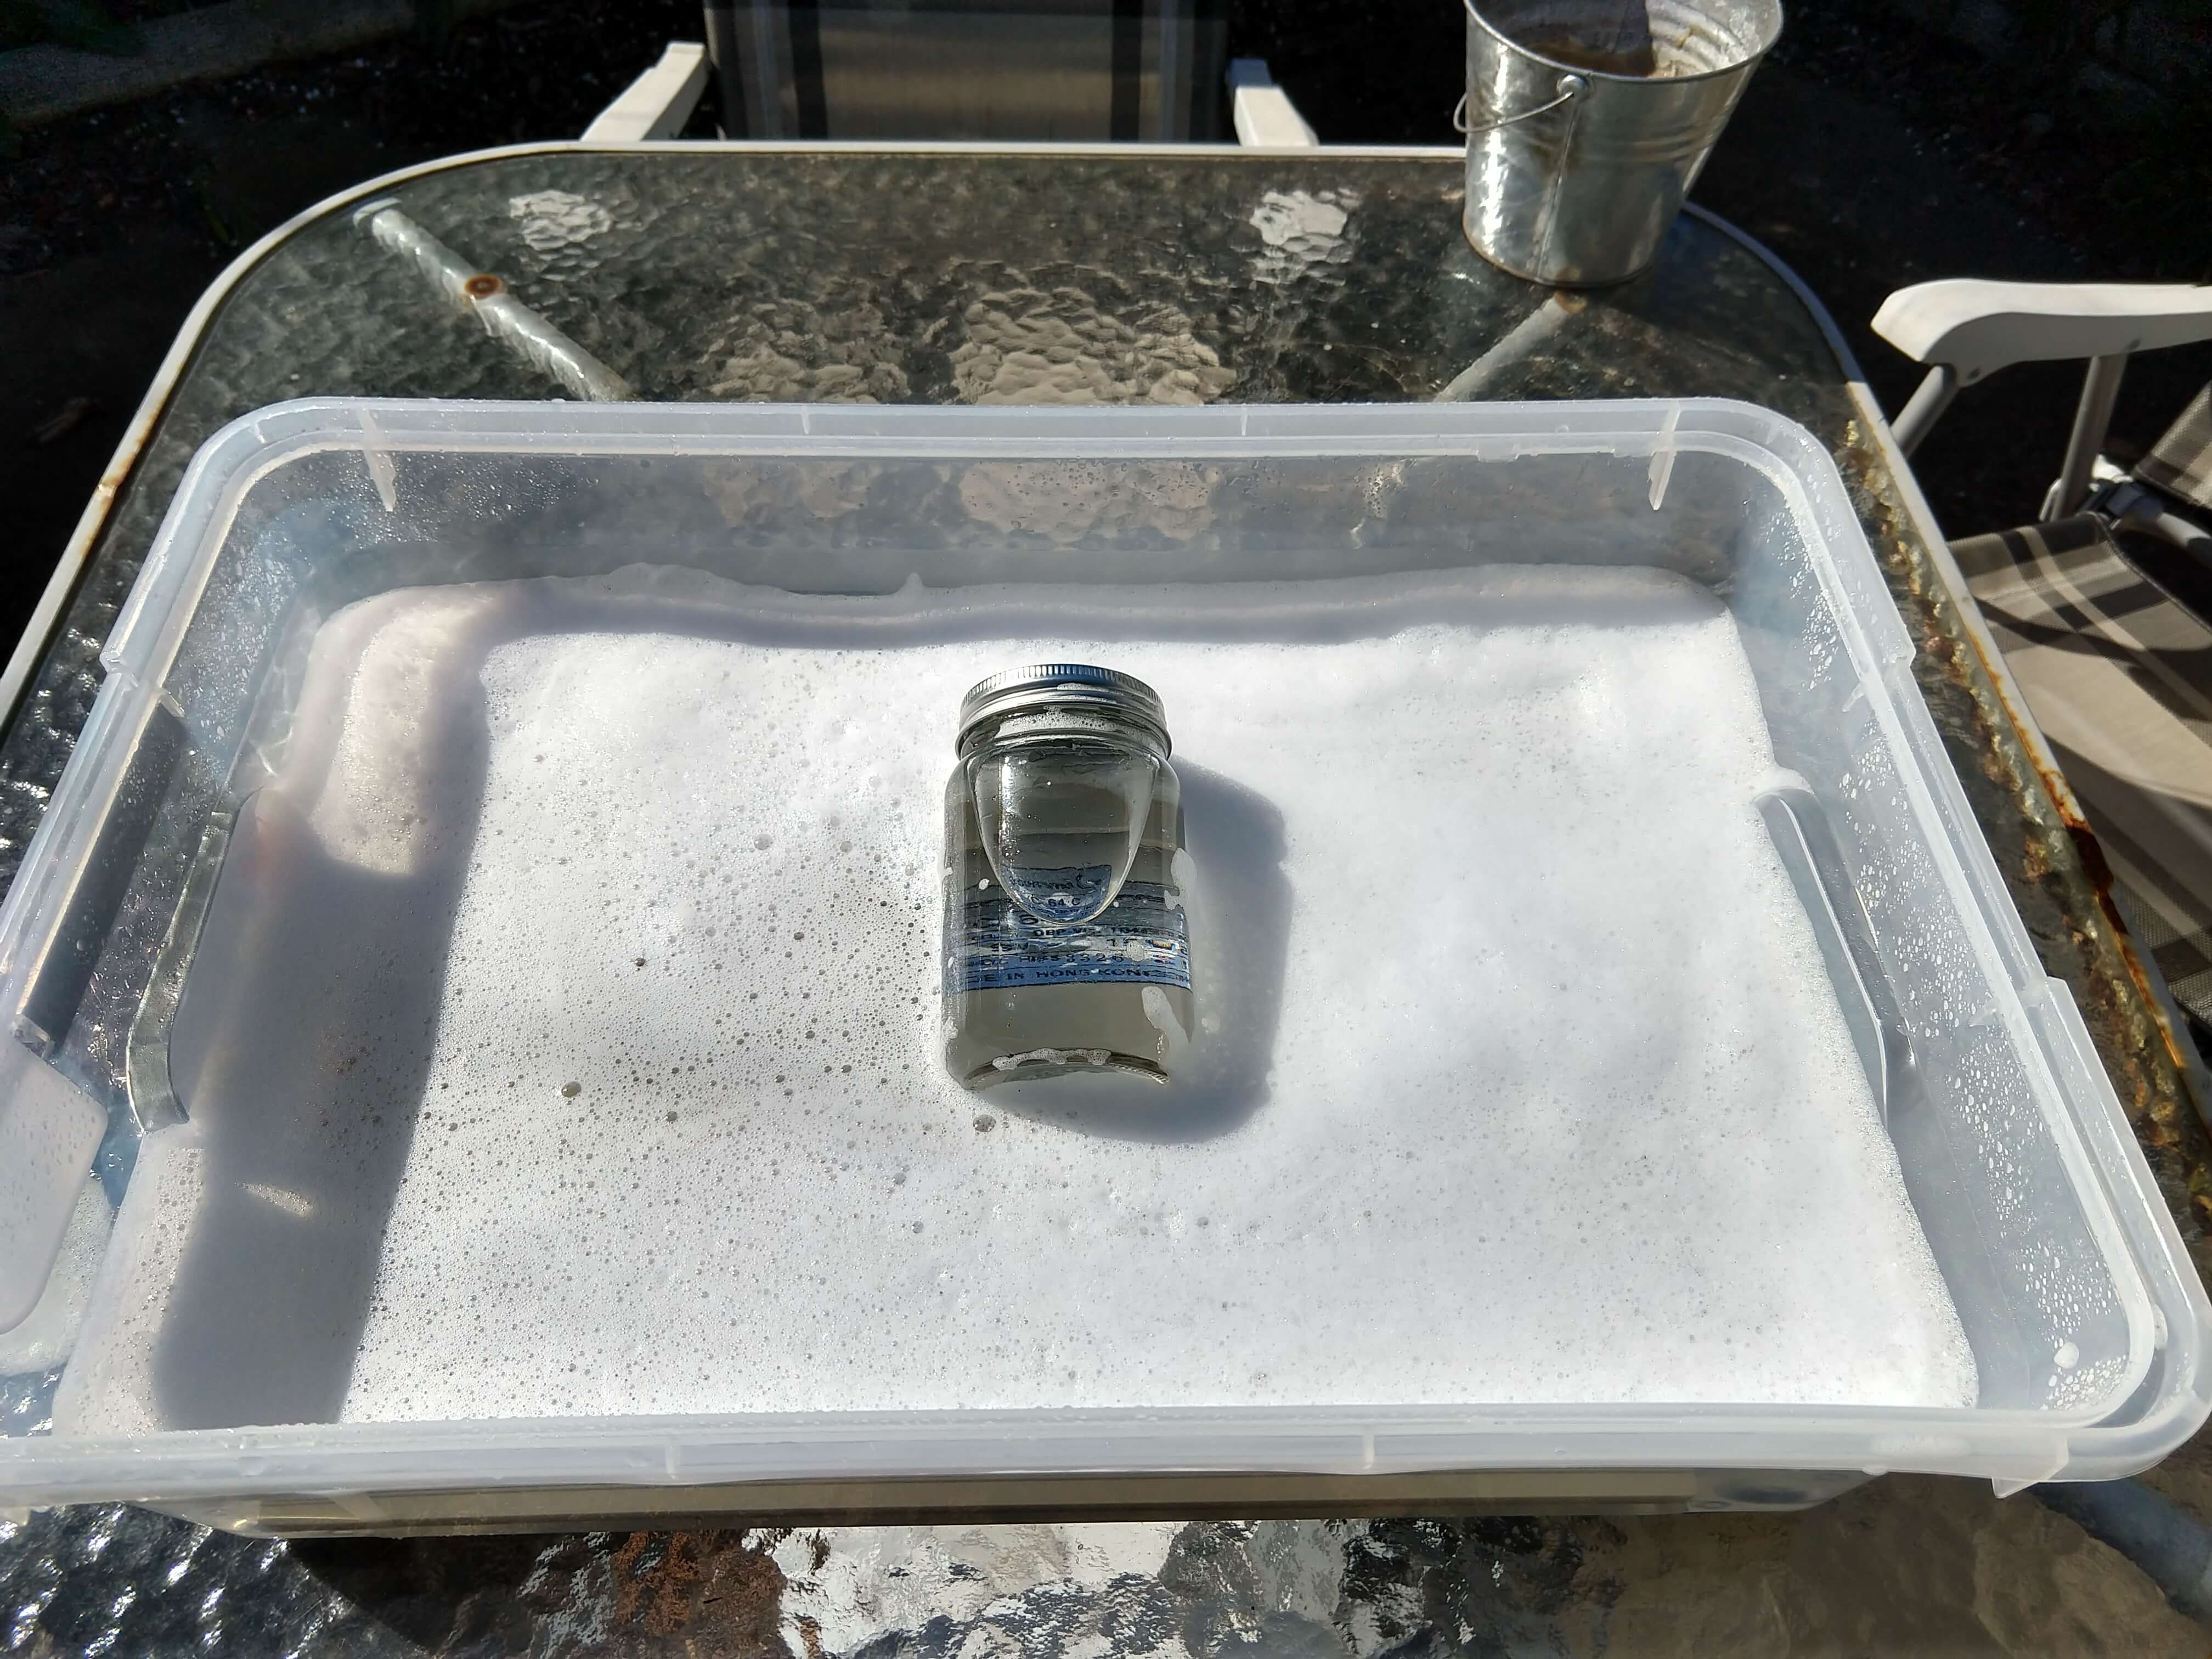
I went out and purchased the cheapest laundry booster I could find, operating on the theory that the pricey stuff would be more likely to have heaps of extra additives and extras like perfumes or whatever in them. I haven’t actually compared it in retrospect to any other brands, but I did go and find the official Safety Data Sheet, which is required by law to list everything in the tub, even if it only has “active ingredient” mentioned on the label.
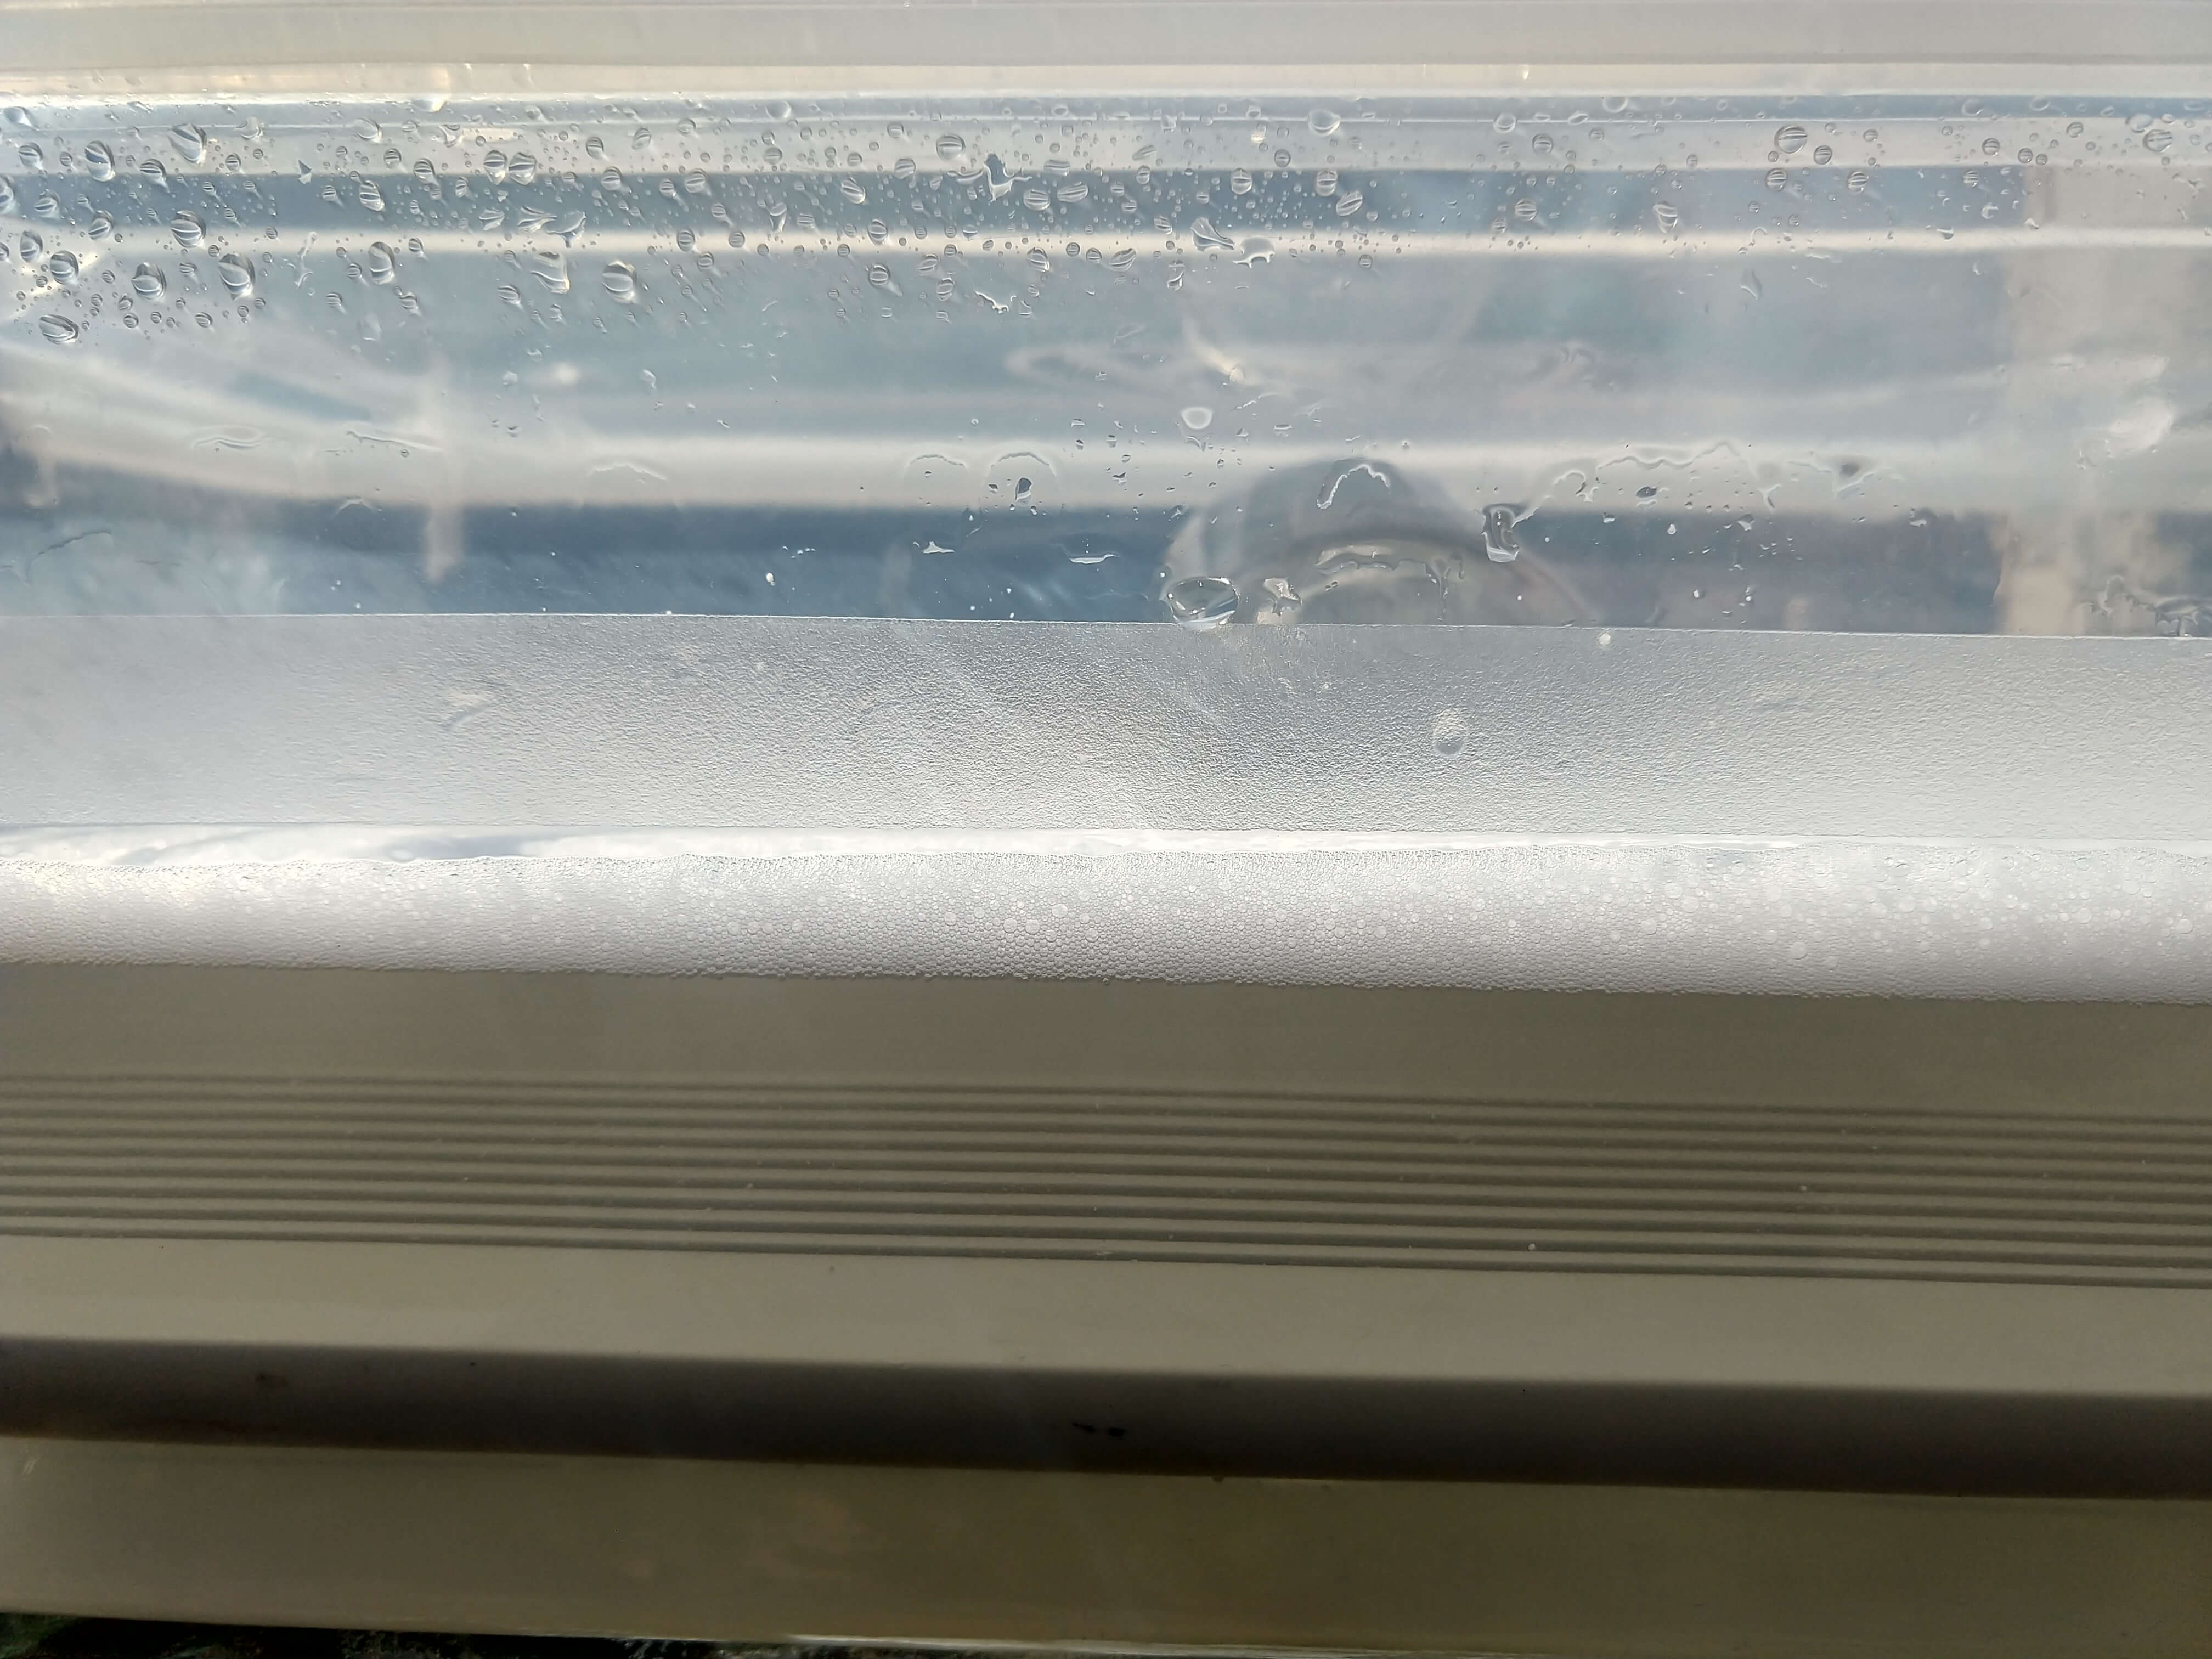
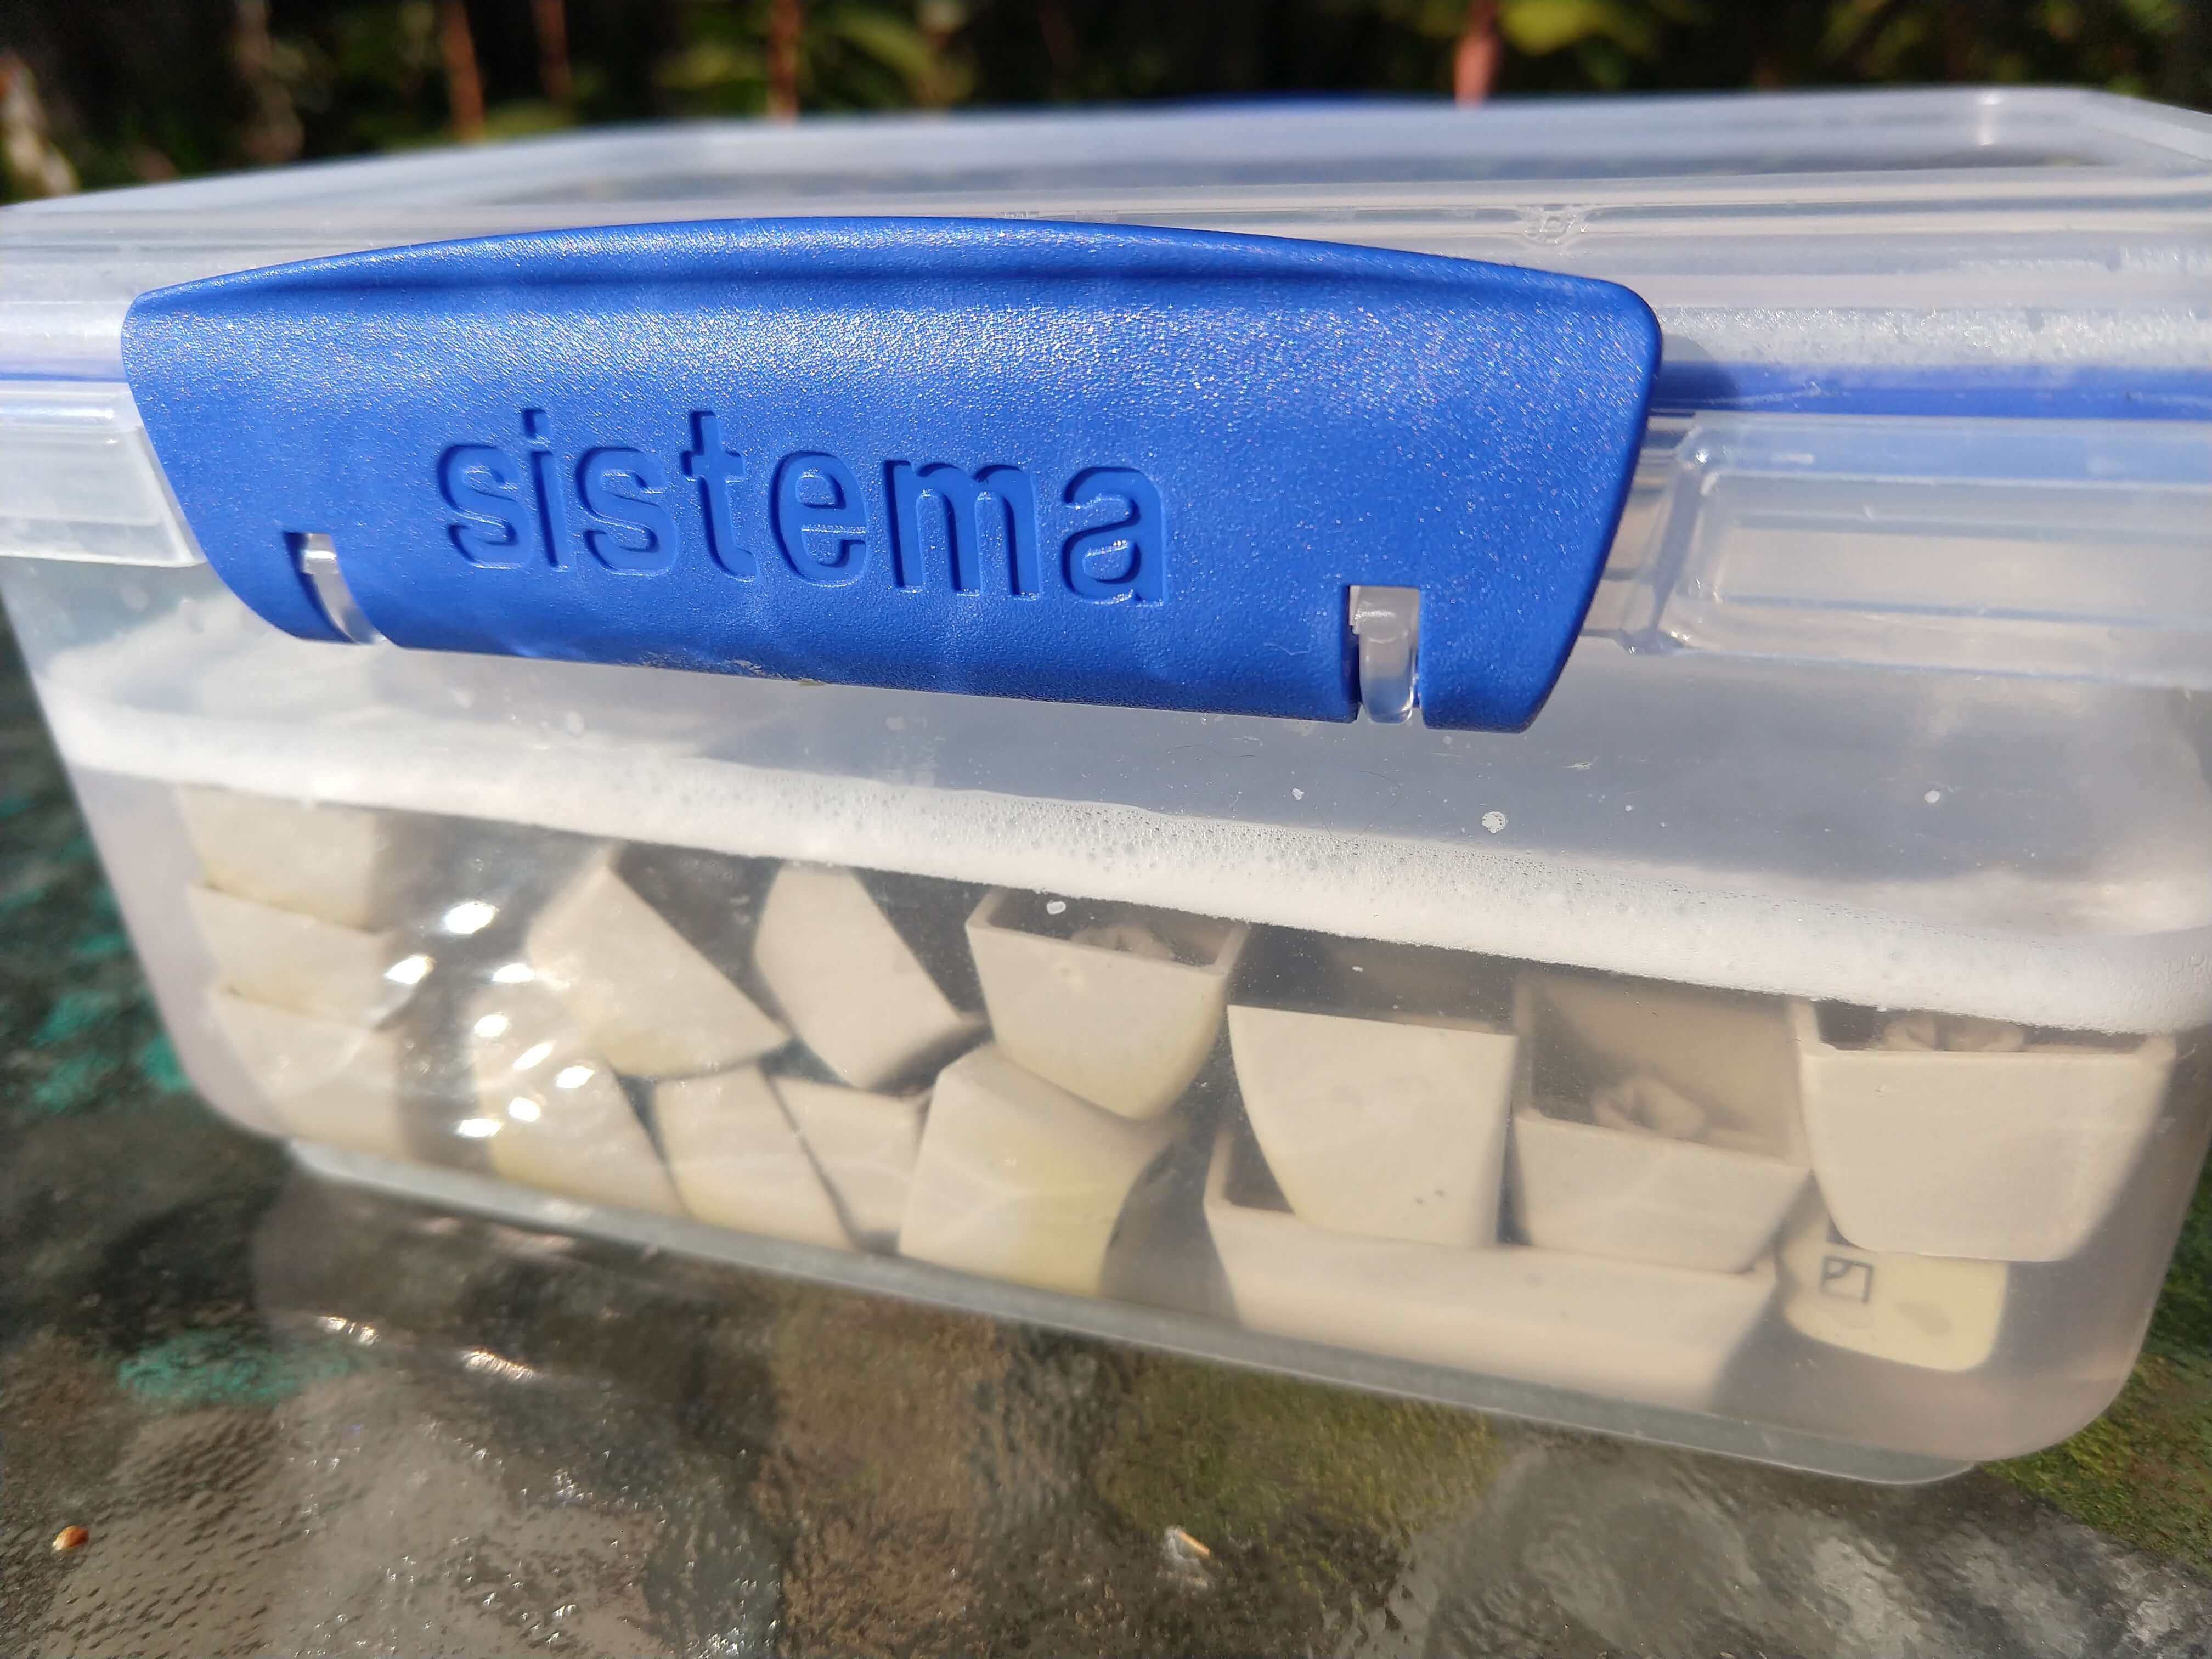
The huge extra bonus from my perspective, is that it’s $2.50 per kilogram. I dumped about half the tub in a tub of water, put it out in the sun and waited. I put the keys from my old keyboard, that were much less yellowed, into a smaller tub as well.
Keyboard Comparisons
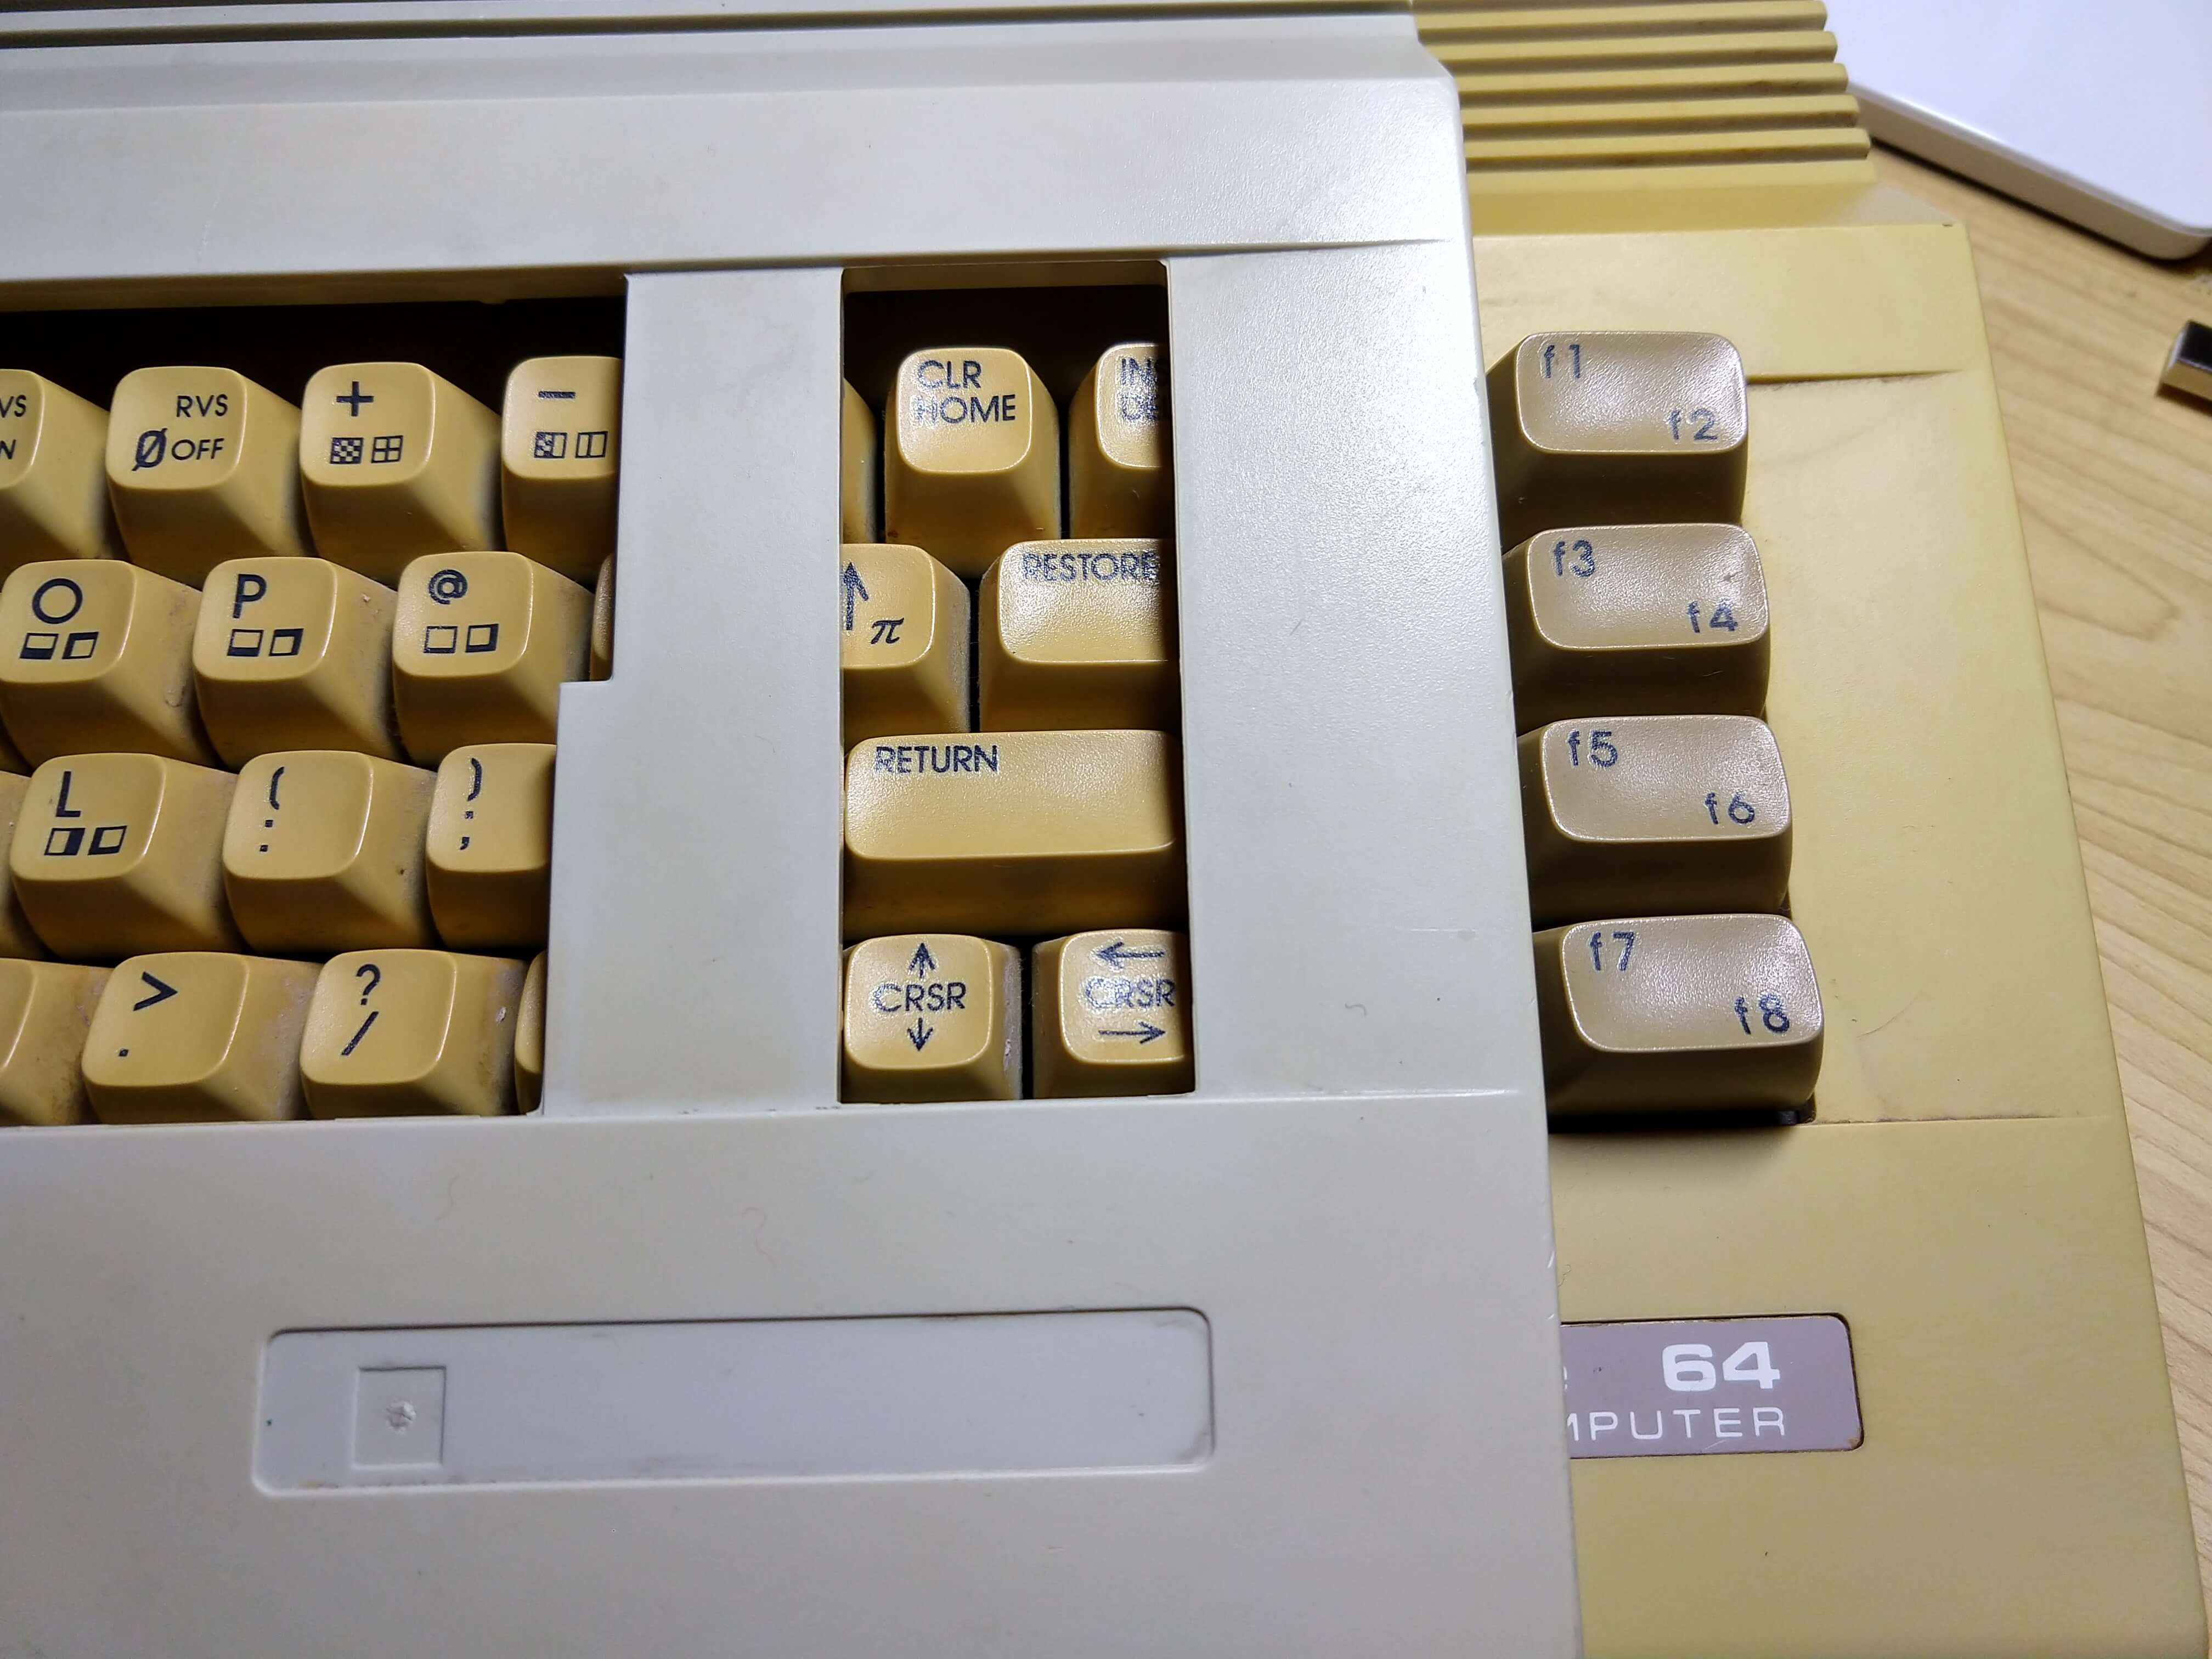
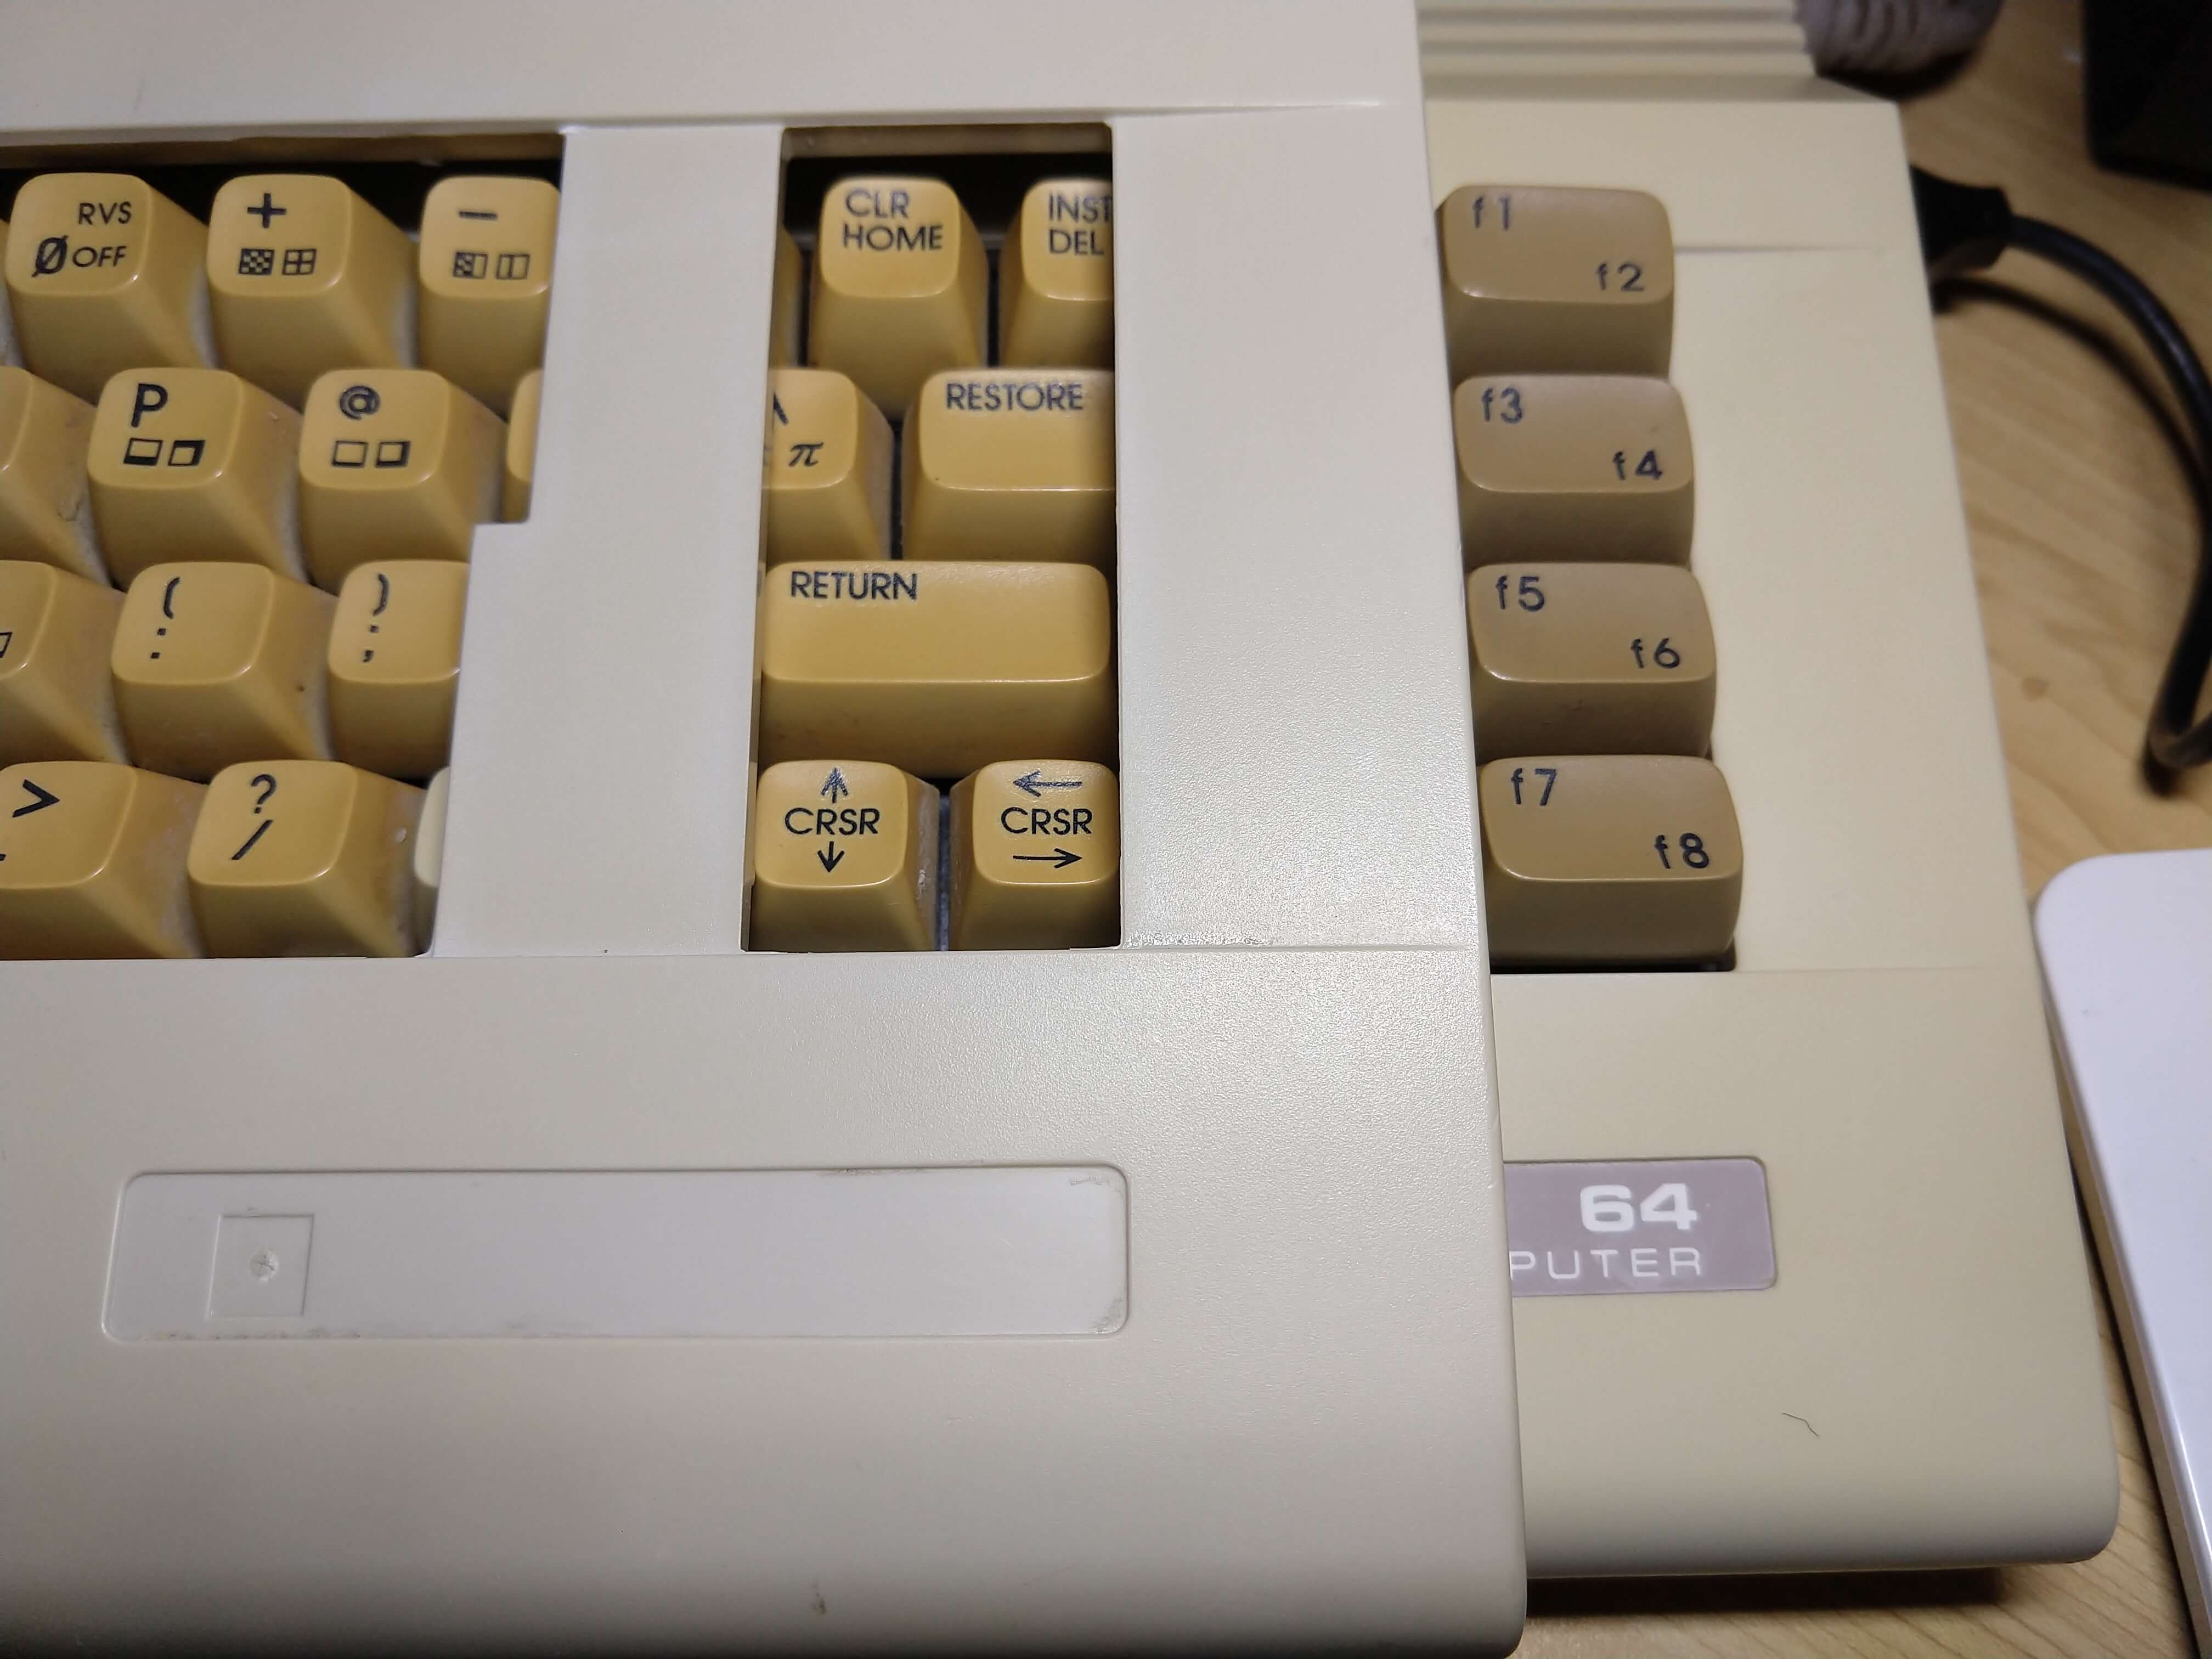
I used my original keyboard because while this was in progress I got a delivery. I’d ordered a replacement Delete key from Retroleum in the UK, and it arrived! It was almost a perfect original colour, so I decided to try de-yellowing my old keyboard to match while I was out there.
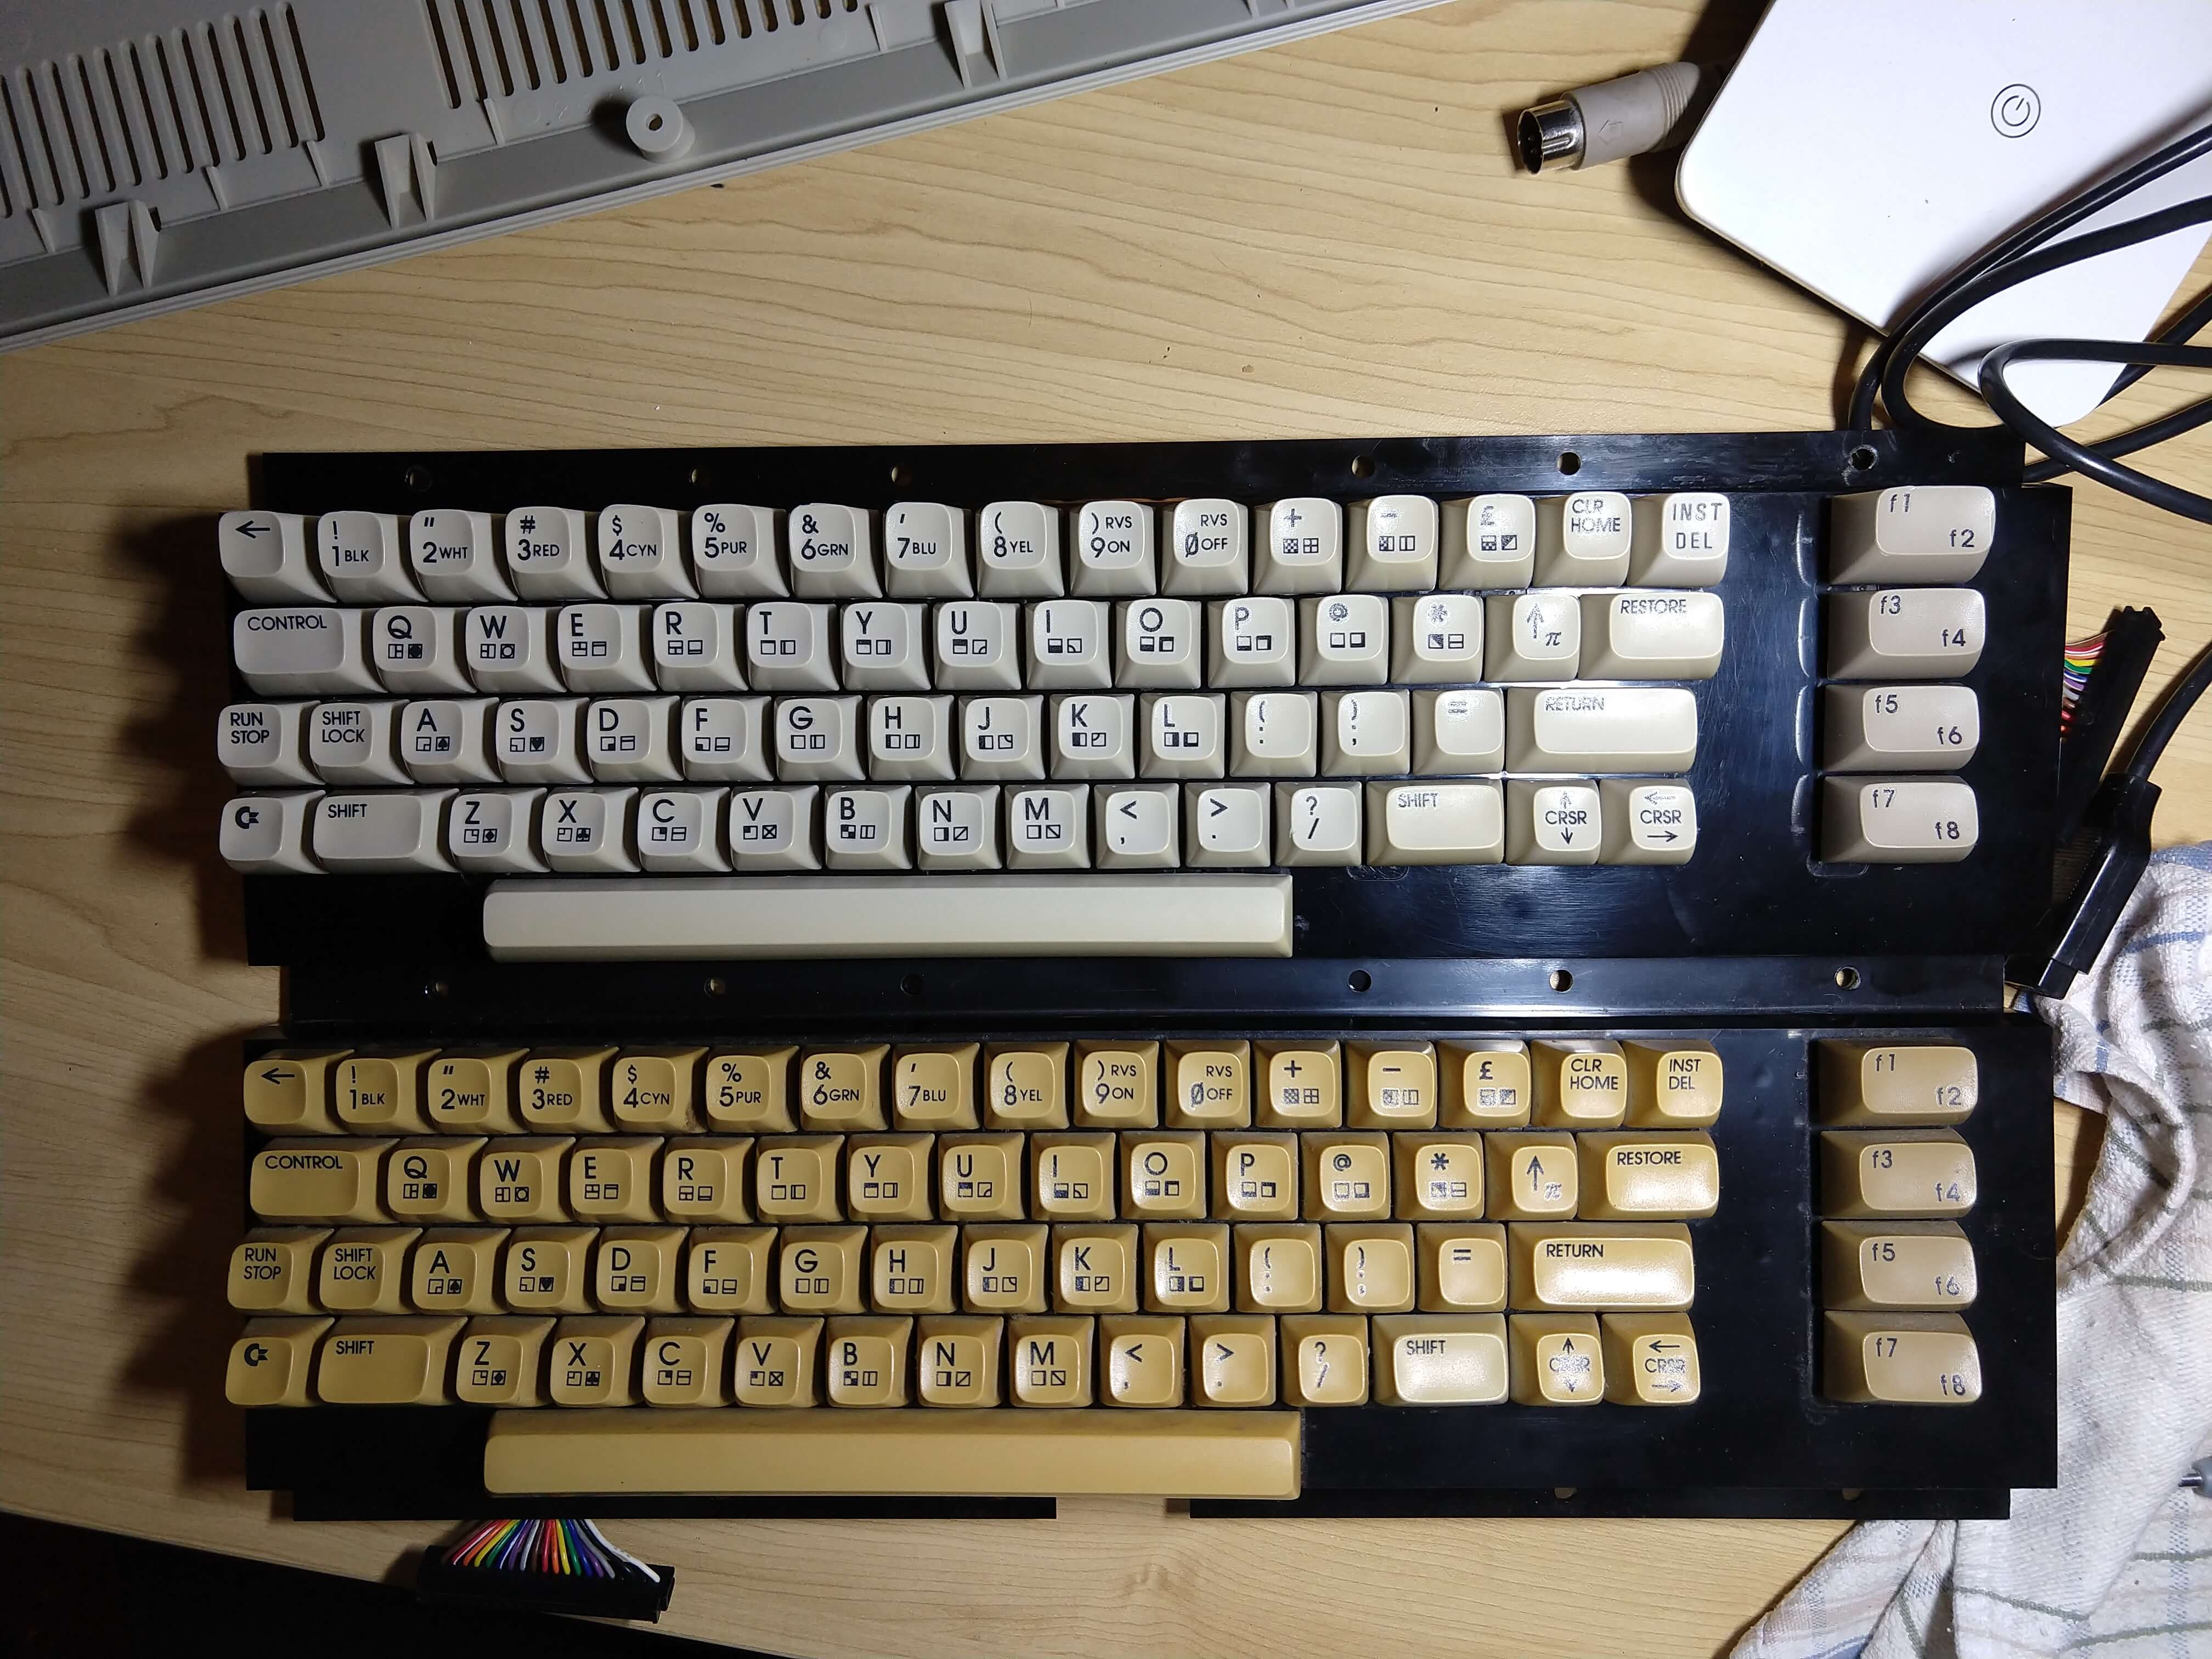
I put one shift key from the yellowed keyboard in the mix to see how it went. Here’s the keyboard result. It wasn’t a huge improvement, but definitely going the right way, and hey – $2.50.
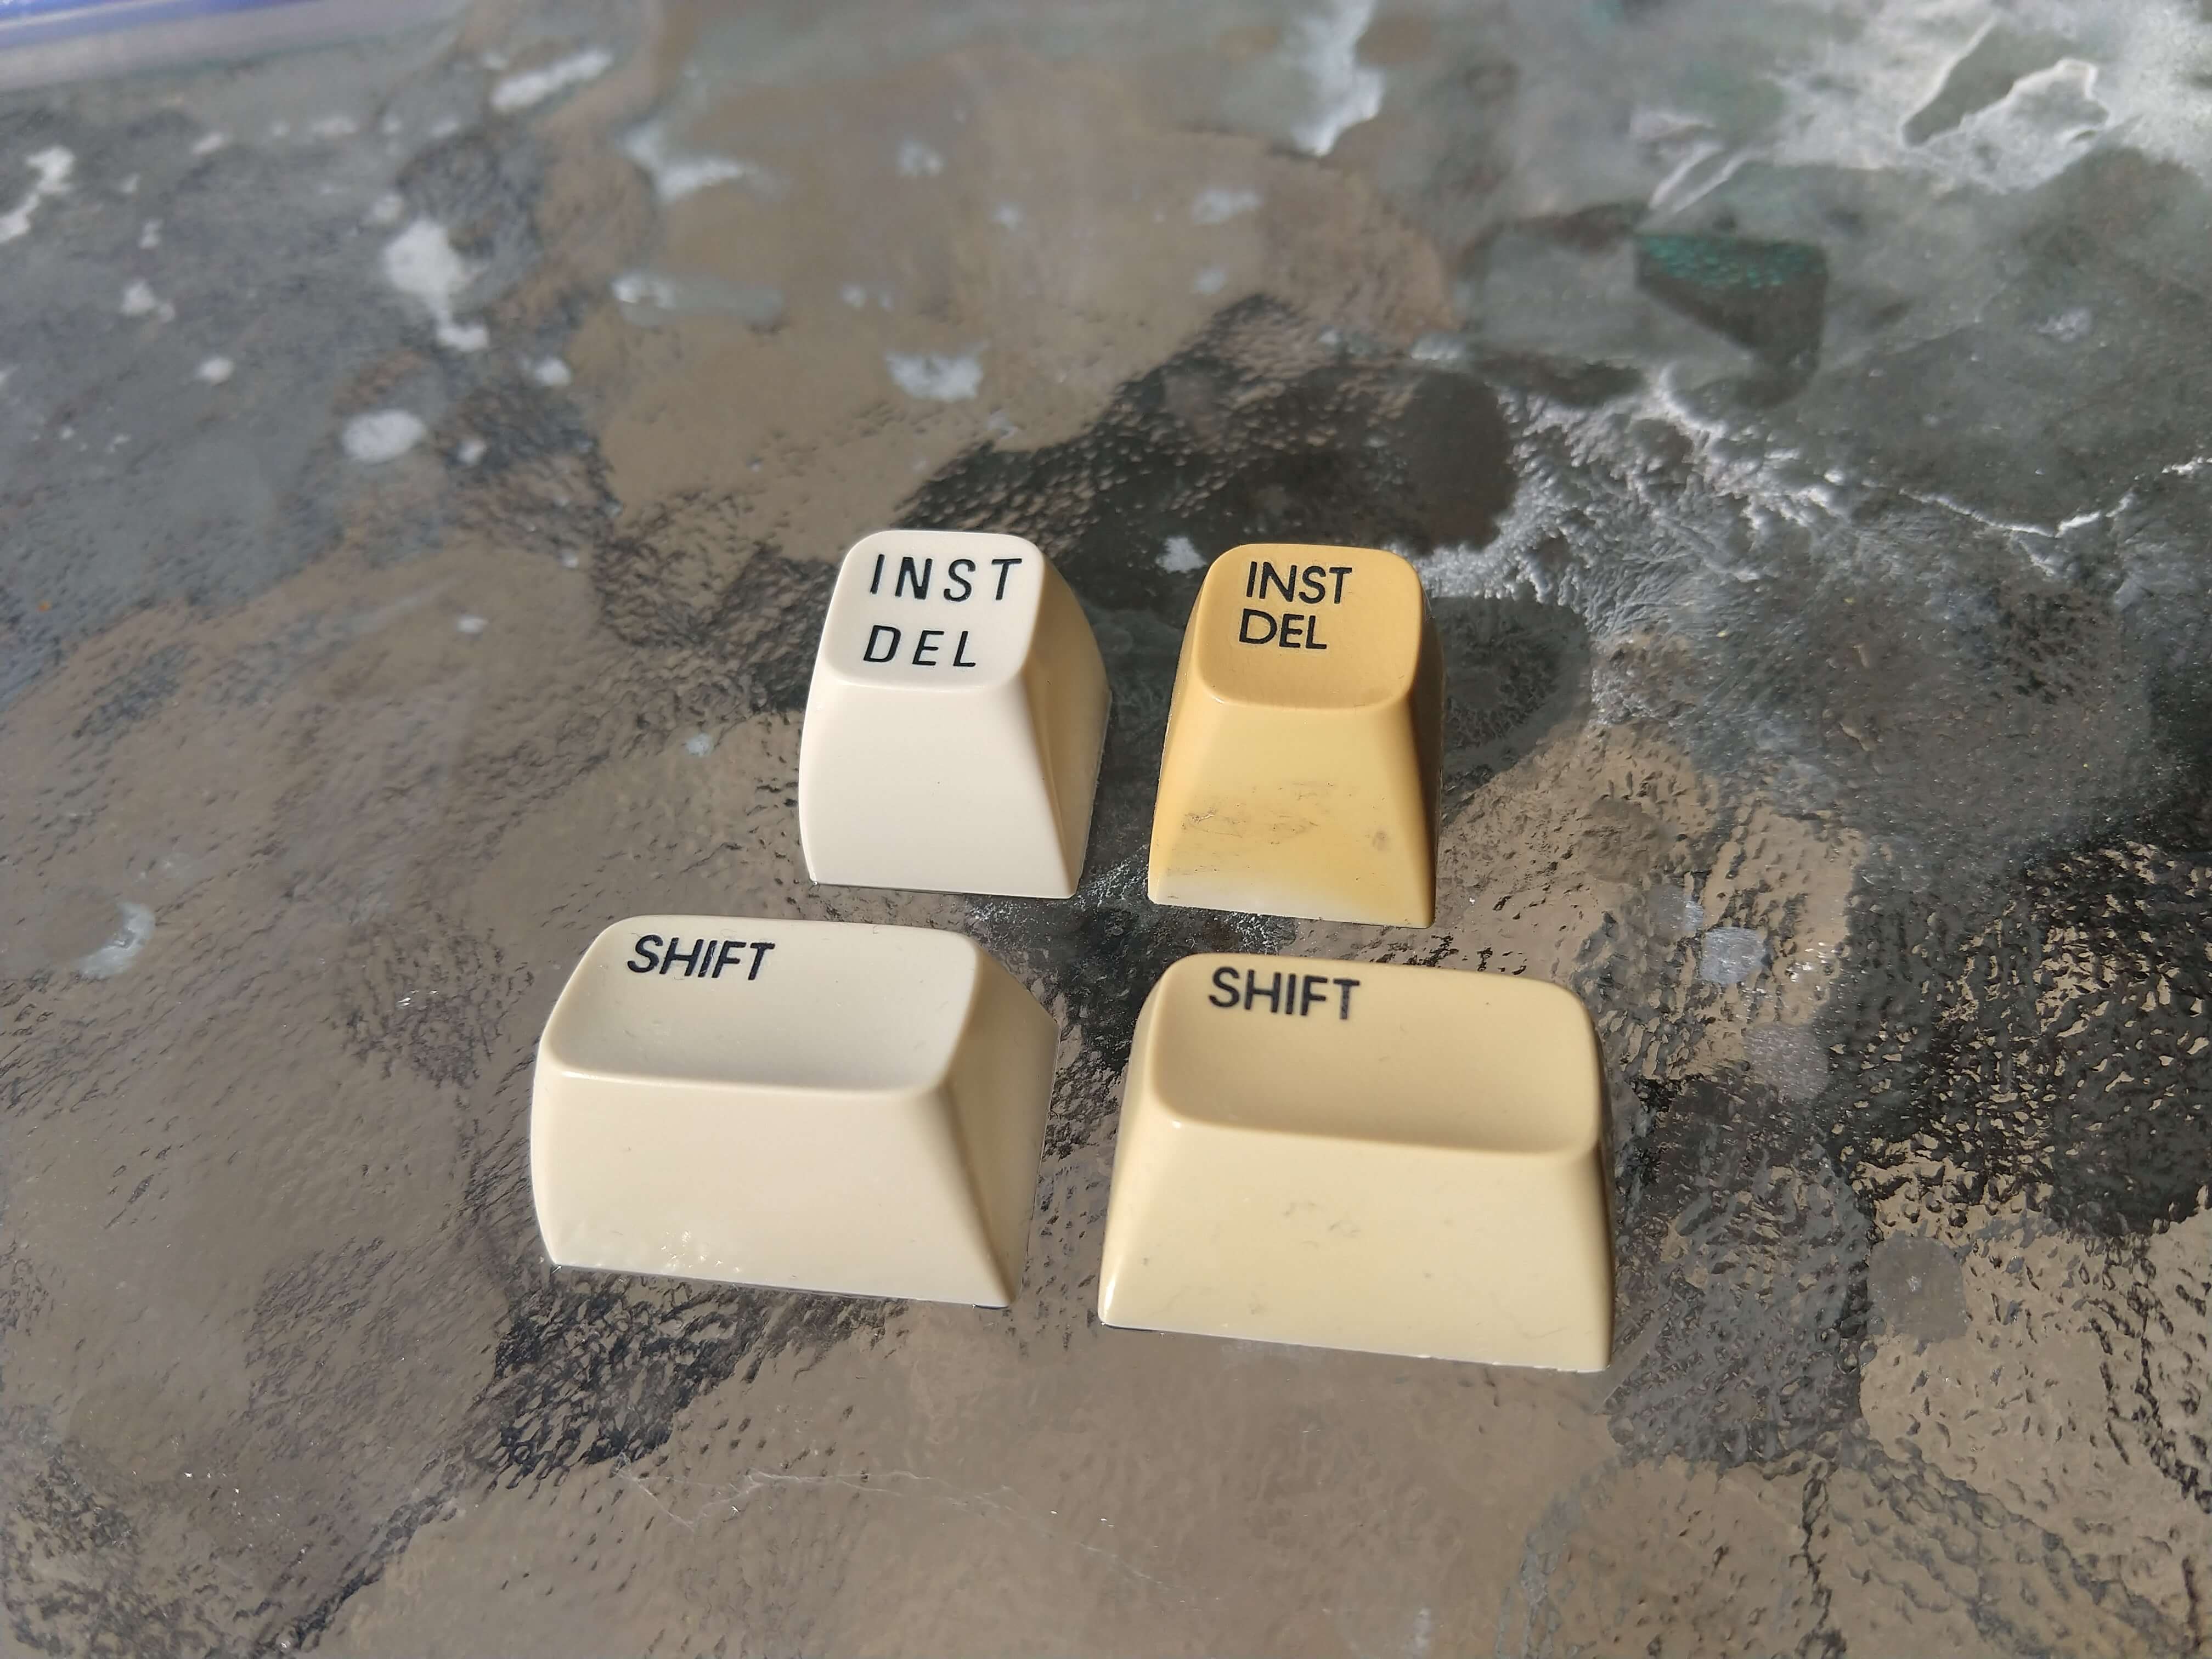
Shift keys both from same keyboard, right side untreated
I’m still mad at myself for not using the Control key as a control key.
Case by Case
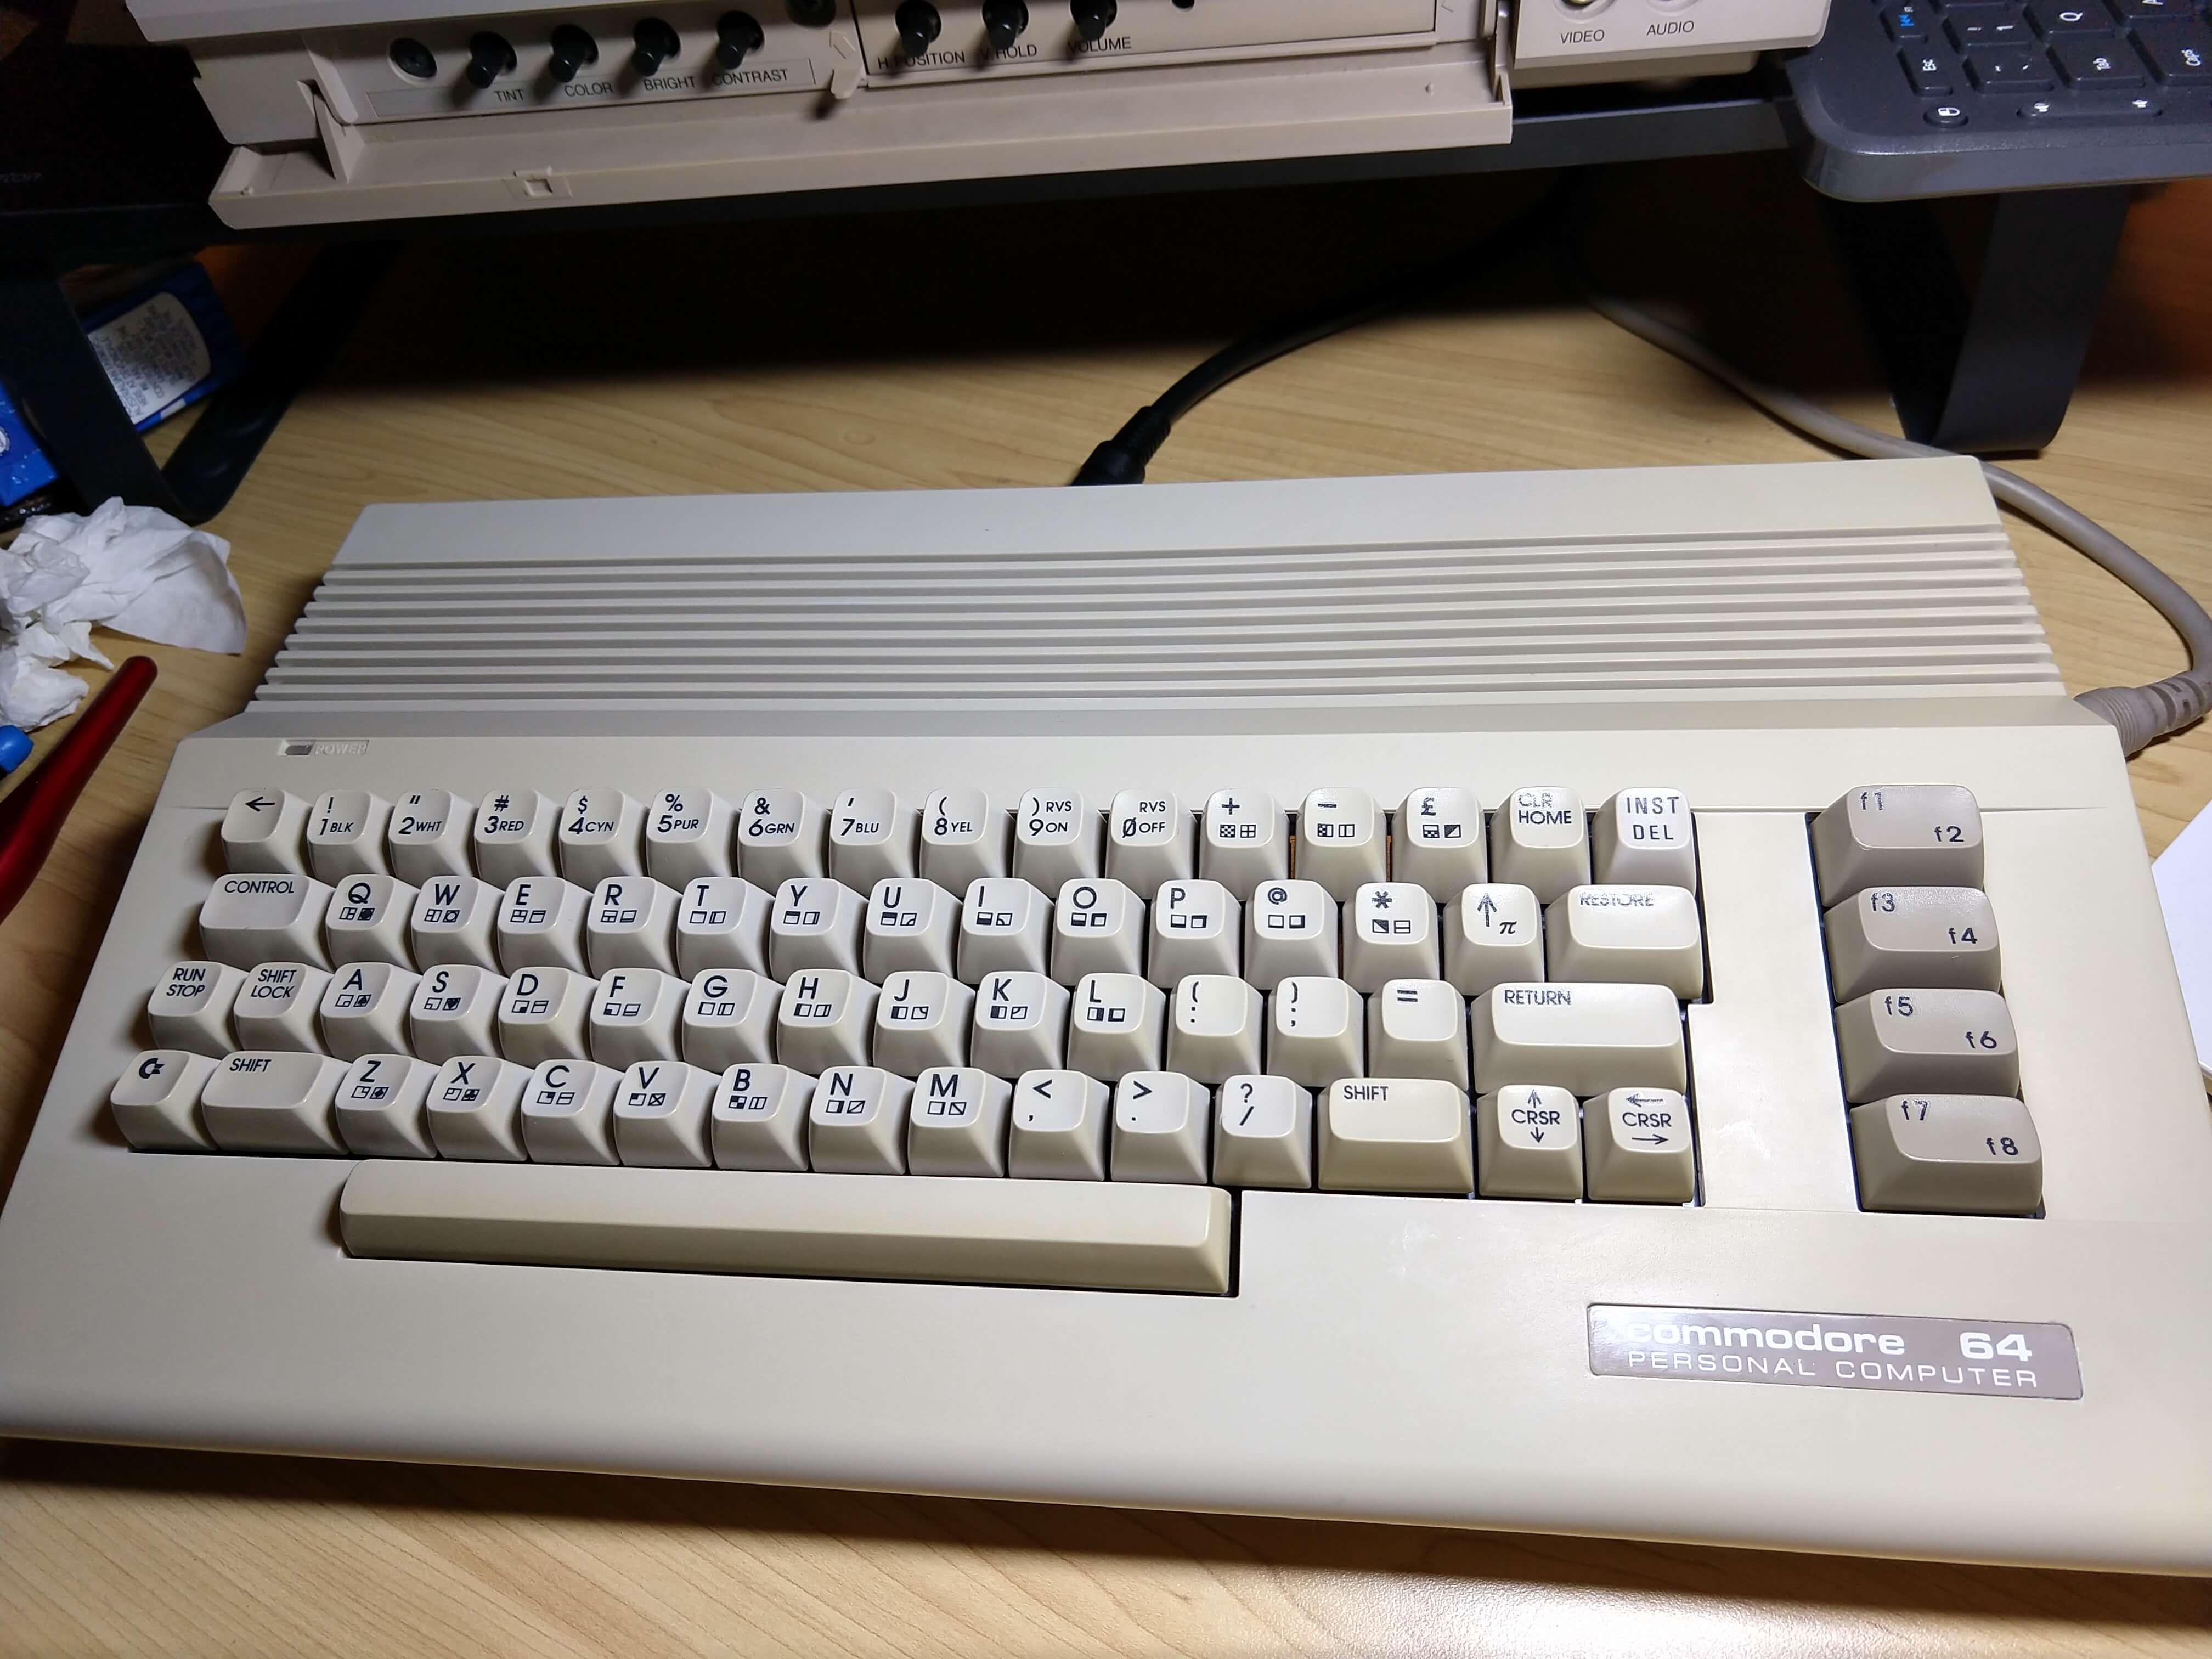
So no more messing about. How did the case look after an early Spring, kinda sunny, not really warm but OK, day? Here’s the same comparison shot as before.
I thought everything was pretty good at this point, but I ended up putting things out again the next day, as we’re still a bit short on daylight hours this time of year, and it wasn’t exactly a warm either. I thought it could be a bit better still. It definitely did come up brighter after a second soak!
I’m kind of glad now I’ve got the other keyboard to revisit this again in summer, since it really does seem like heat is a massive help in this process. Here’s the comparison of the two keyboards I have now.
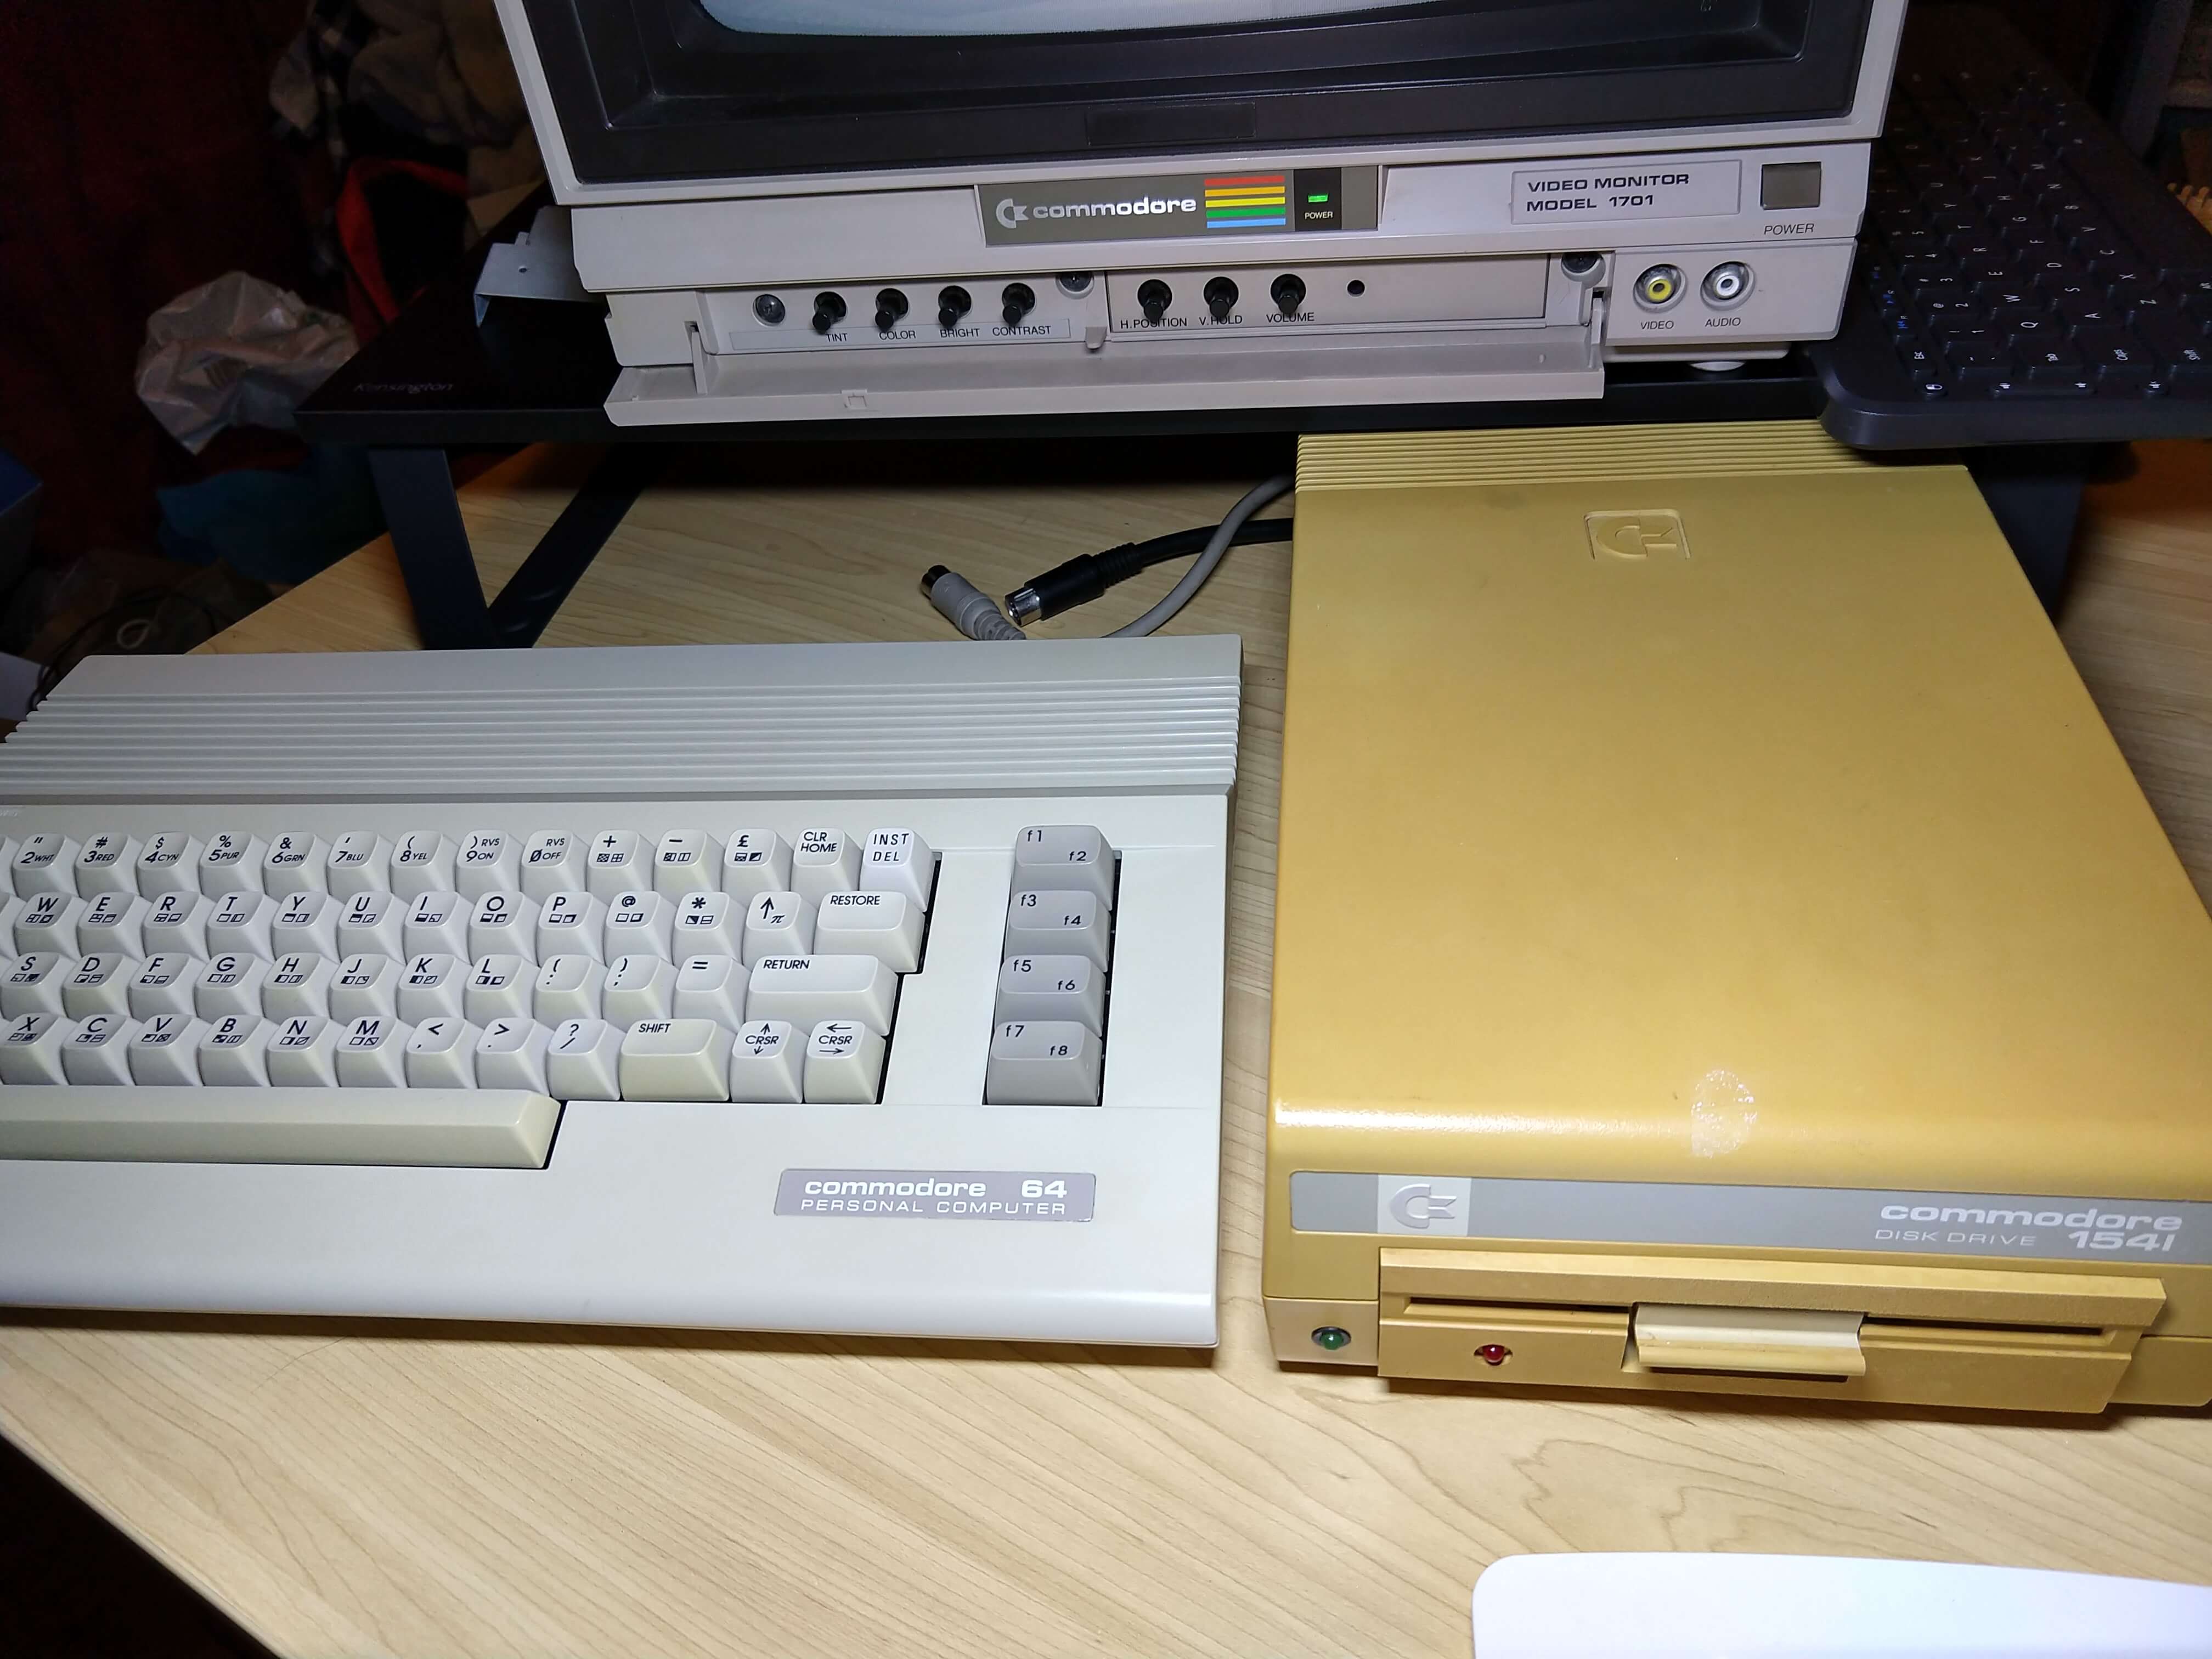
The only thing left was to combine the “new” C64 with my original keyboard, now with less missing keys! The contrast is amazing when you put it next to the 1541 it came with – which was pretty much the same colour a couple of days ago.
There are definitely better, faster, more effective retrobrighting techniques possible. I could get developer creme, wrap it in cling film, sit it under a UV globe in a tank of ozone …
This attempt cost $2.50 in materials, which makes me feel a lot better after I’ve dropped a few hundred on a new computer. If I had more time and some warmer, sunnier days, I think this method’s results would stand up really well in comparison to anything else. We’ll find out in a few months when I pop the case off that 1541 and do that and the other keyboard.
Next Time
I’ve gone on long enough for now, so I’ll save the story about breaking my Commodore 64 for another time. I have plenty of other things to talk about as well! I’ve got a working 6502 assembly development environment back up and running now, and the other C64 I have here almost works. It’s got some issues but I think I’ve figured out what’s wrong and I’ve ordered some parts and will be getting the soldering iron out when they get here.
There’s probably going to be a bit of a gap before I get back to this though, as the next few weeks I’ll be working on a bunch of shows at the Melbourne Fringe Festival, then I’m going to put on a backpack and wander off into some bush for a few days to recover.
Follow me here if you want to keep up with all that too!