Building a Wicking Bed

One thing I know about myself at this point is that I only ever really learn anything by trying it and fucking up a few times. For me then, it’s best to keep the stakes really damn low the first few times so that starting over later isn’t a big deal.
With that in mind, I started my first wicking bed project with just a vague plan and a tight budget.
A what bed?
A wicking bed is a container with a reservoir of water at the bottom that relies on wicking action to keep a bed of soil at the top moist. It means there’s minimal water waste, and that it’s a slightly lower maintenance option than just a bed of soil. This suits my planning ability and frequent absences from my home down to the fucking ground.
If you want a thorough introduction to the topic, here’s a great playlist of wicking bed videos from one of my favourite YouTube channels, Rob Bob’s Aquaponics & Backyard Farm. Aside from the great information, that playlist is an awesome way to watch Rob’s beard grow over the course of about six years.
The plan
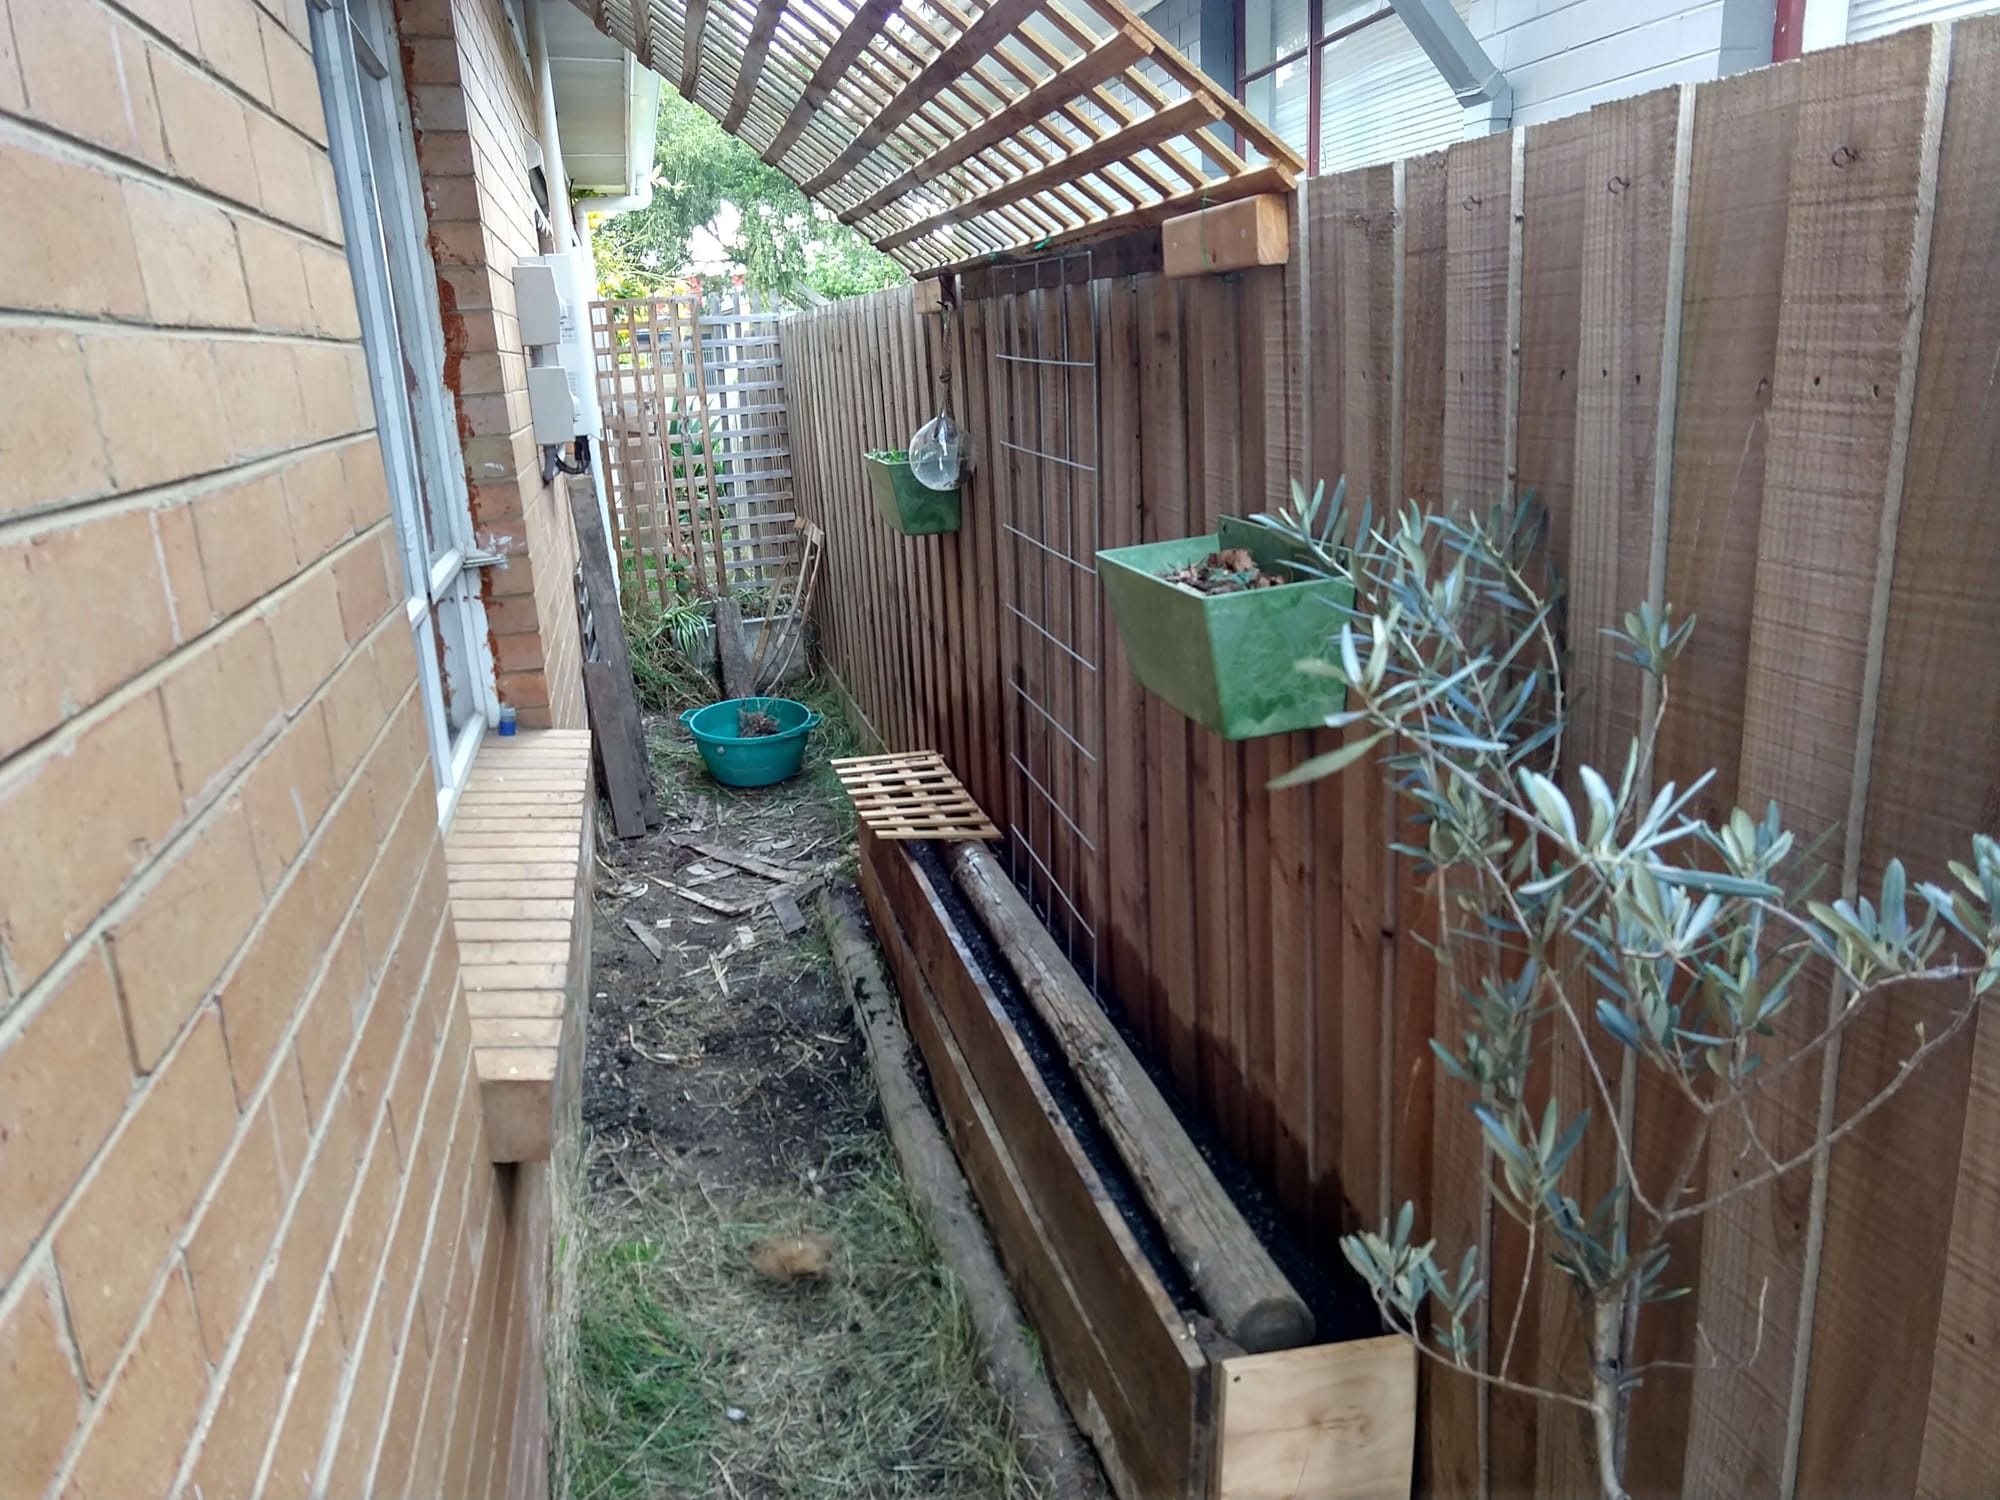
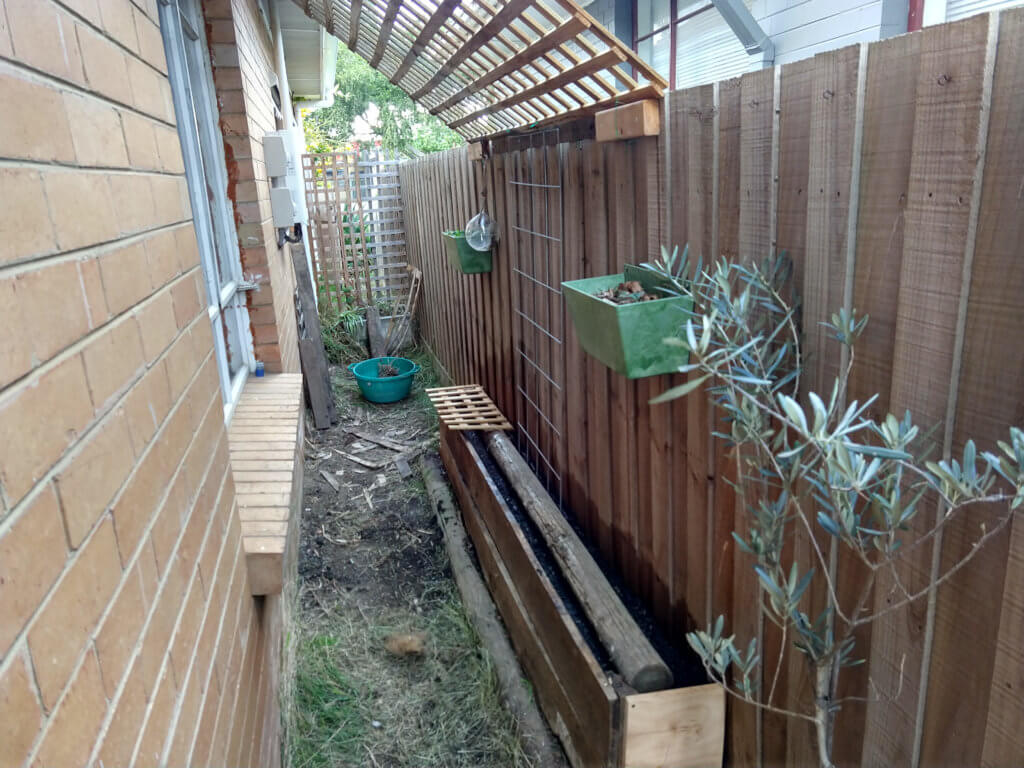
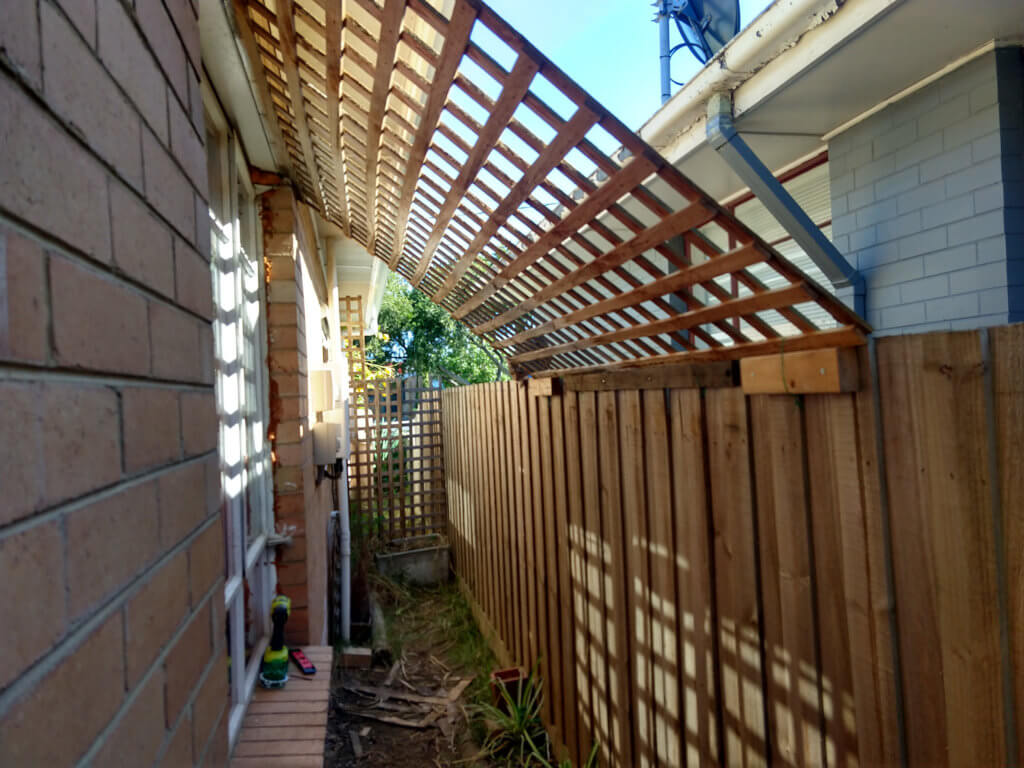
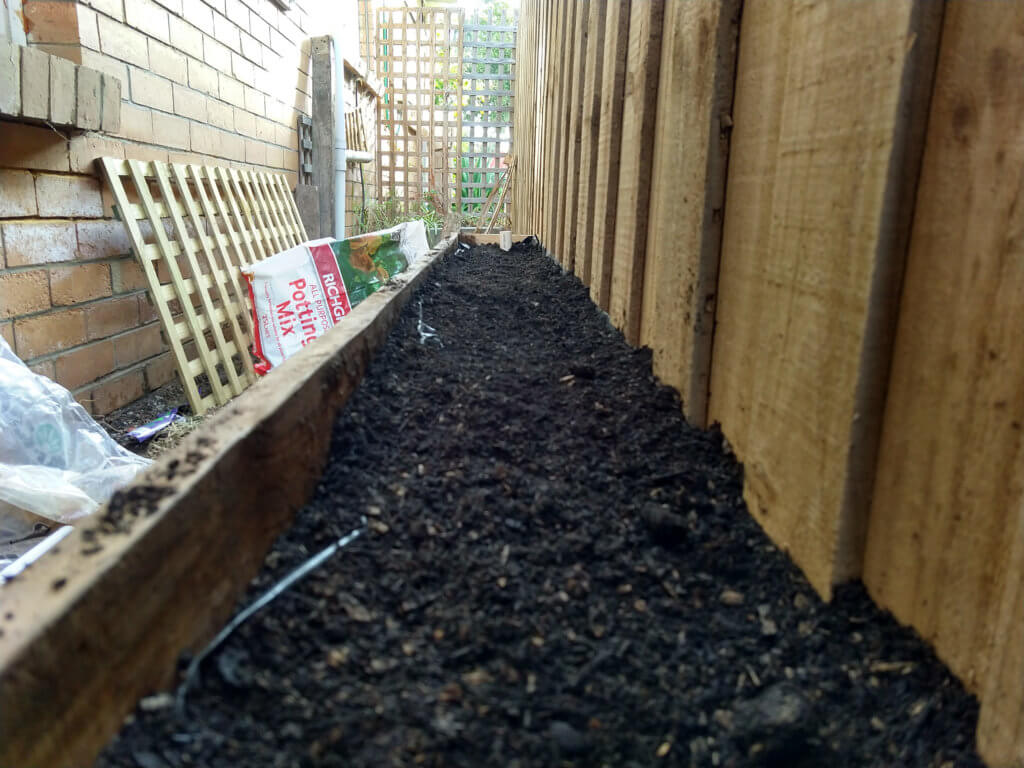
There is a long, narrow space down the side of the house that used to be covered with netting to form a cat enclosure. The cats defeated this long ago and have proven themselves responsible local citizens who keep themselves in at night without it anyway. It’s come down, but I was left with an idea – what if I just grew something over that space instead?
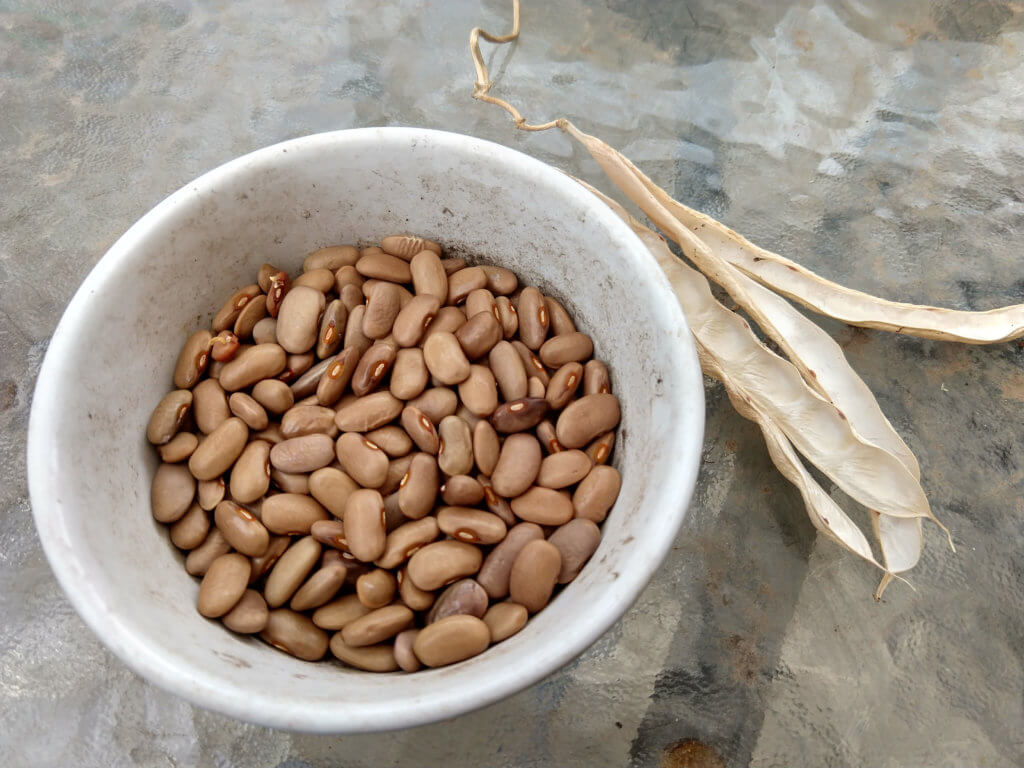
Grape vines were the first thing to come to mind, but I don’t know a damn thing about grapes. How about beans? I grew a few beans last year, it was pretty easy, and after leaving the last few on the vine at the end of the season, I was left with plenty of seeds ready to plant – many more than I’d started with.
I don’t care what it’s been …
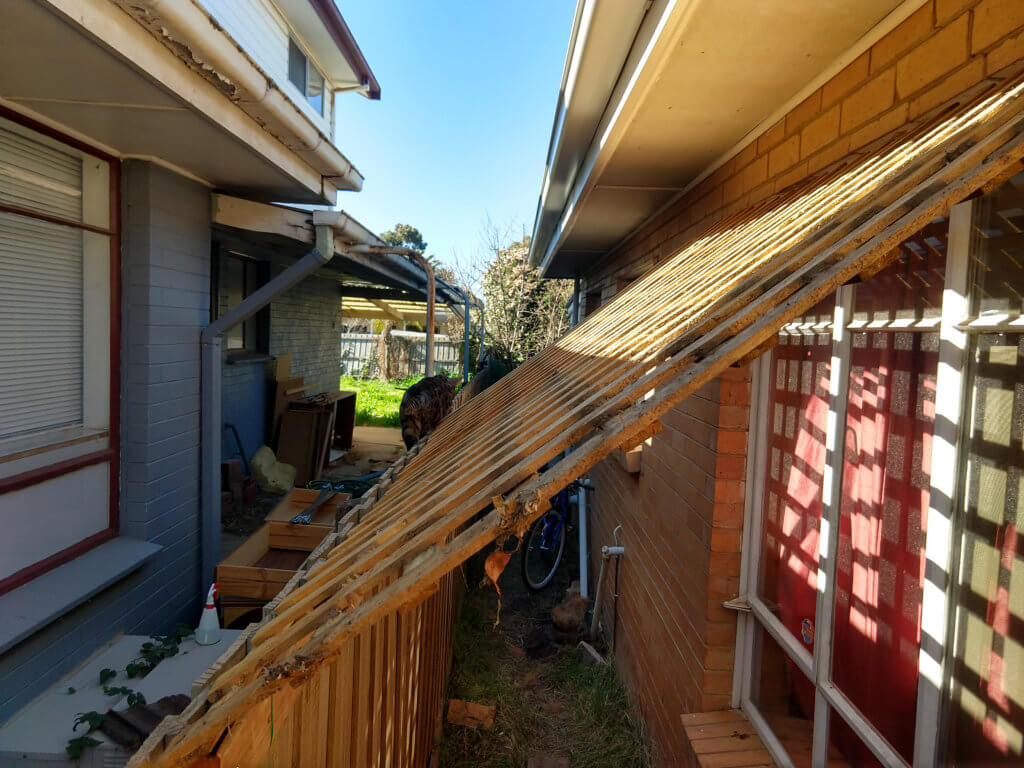
To give my beans a good framework, I got a bit of pine lattice that’d been removed from elsewhere in the garden, and used a couple of blocks of scrap wood to brace it against the house, and a few twist ties to give gravity a bit of a hand holding it in place.
I hope that, come summer, a nice shade over the window made of green plants plus the solar panels on the roof above will keep my office nice and liveable. A big factor here will be keeping those plants, which have the exact same north-facing orientation as the solar panels, alive and green. An easily topped-up reservoir of water will be key here. We also have some very large fish tanks, and it’ll be a great way to use the water we take out during their frequent changes.
How will you screw this up, Mike?
I will screw this up by cutting corners and – I think most critically – taking the cheapest possible option at every point. As much as I want this to work, I also want to know exactly how many corners you can cut and still get away with something vaguely functional.
- The box for the bed will only have three sides, the fourth being supplied by the fence it’s leaning against. If there’s to much pressure, it could just fall over.
- I have the cheapest possible builder’s film to line it with (although folded several times, so I doubt it’ll be an issue). A puncture may not be a fatal thing, but it would very quickly just revert its function back to “box of dirt you sprinkle water on top of”.
- A large amount of the soil will be dumped out of old pots and garden beds in the hope that some worms or useful bacteria will come along for the ride. This may cause weed problems, but this will be the lowest possible layer of soil, so hopefully any plant matter will just become compost.
If it’s not clear to you at this point – I’m not writing a “how to wicking bed 100% great method” article here. I’m documenting what I’m expecting to be a cautionary tale, rather than an example to copy. Do not do what I do unless you crave disappointment.
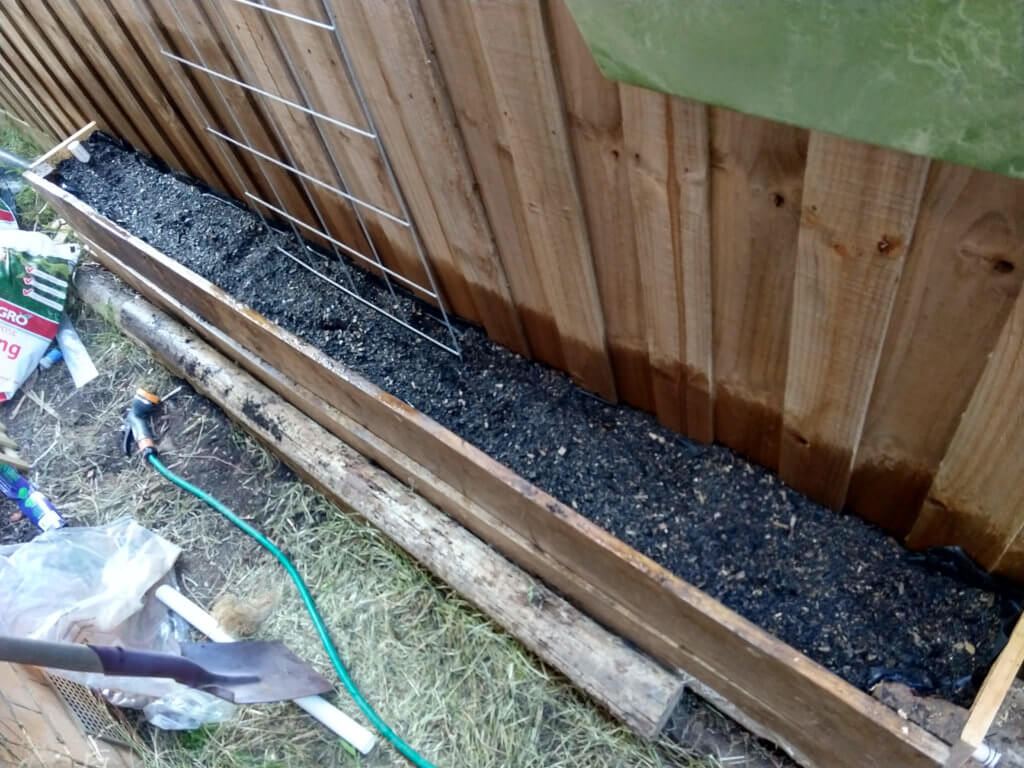
The box
Look on my works, ye mighty, and despair!
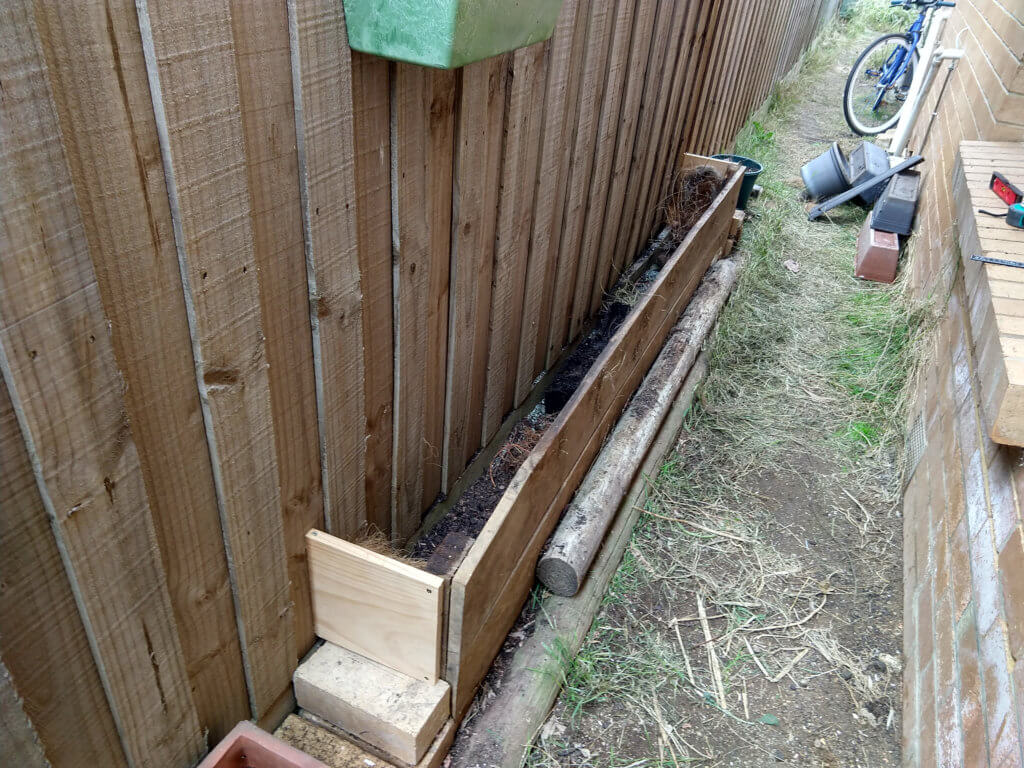
The boards at the front are some old shelves that came down ages ago, and I used them mainly to bridge muddy areas outside since. They are wet and filthy and rotting in places. They’re also free, so on they go! A few screws and a couple of extra bits of pine plank later, and we have a box.
The whole thing is held in place on the fence by two screws. If those fail, it’ll be hilarious. I will replace those with something a bit better quite soon.
There was a sort-of plan with the side panels not going all the way down. In hindsight, I should have put them at the bottom. Or not. We’ll talk about that when we get into the layers of the bed.
The lining
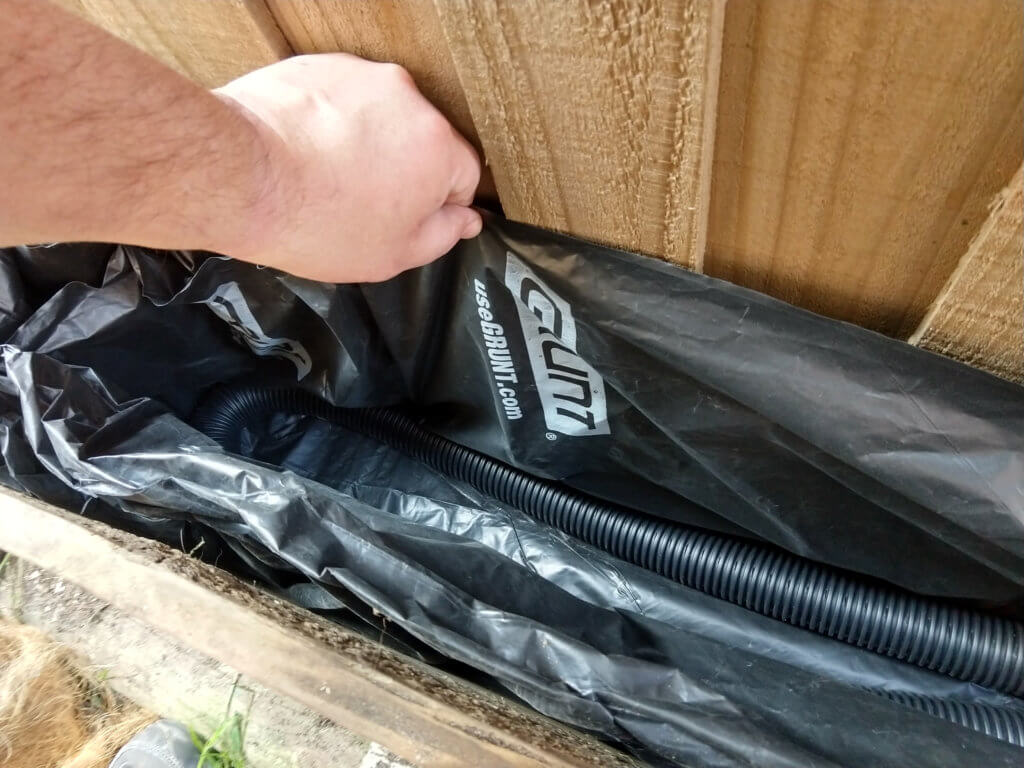
I paid $15 for a huge sheet of builder’s film that was excessively large. Instead of cutting it to size, I folded it up. This is because a) I couldn’t be bothered; and b) having a few backup layers seemed a good idea.
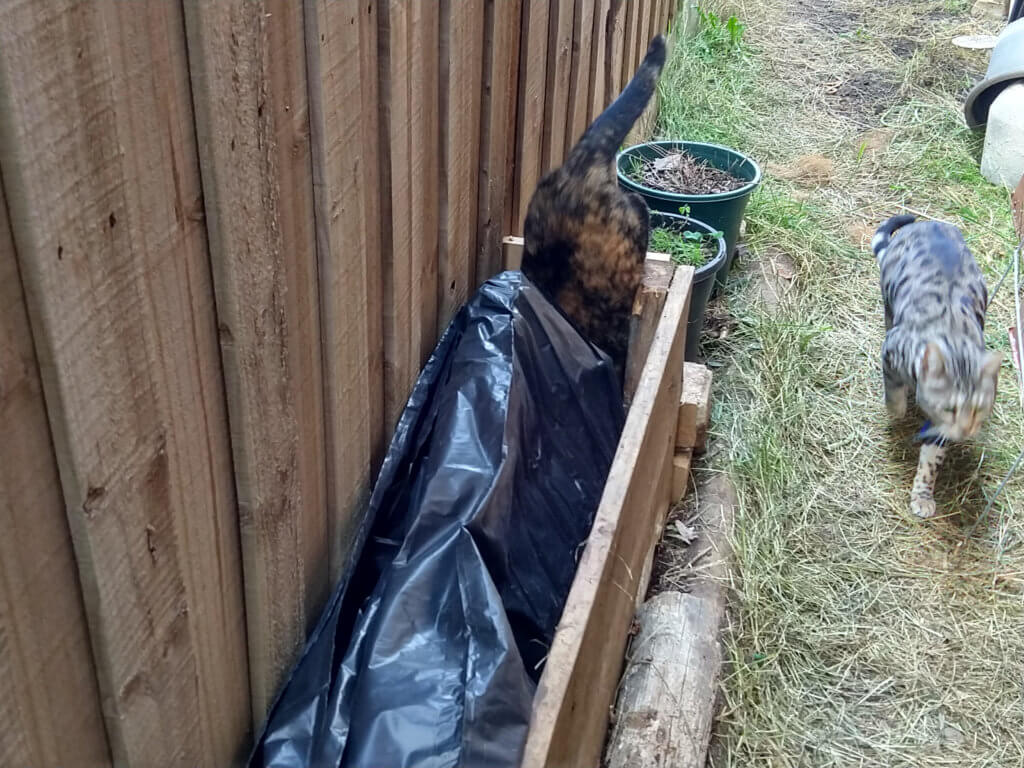
Here’s where I did my first clever thing that may turn out to be a massive issue later. It’s important that the reservoir has an outlet so it doesn’t turn into a pond when it rains heavily. It has to be able to retain water to a certain point though. Rather than cut a hole in my plastic sheet, I slid the whole thing along slightly so there’s a high wall at one end, and a low spot at the other end.
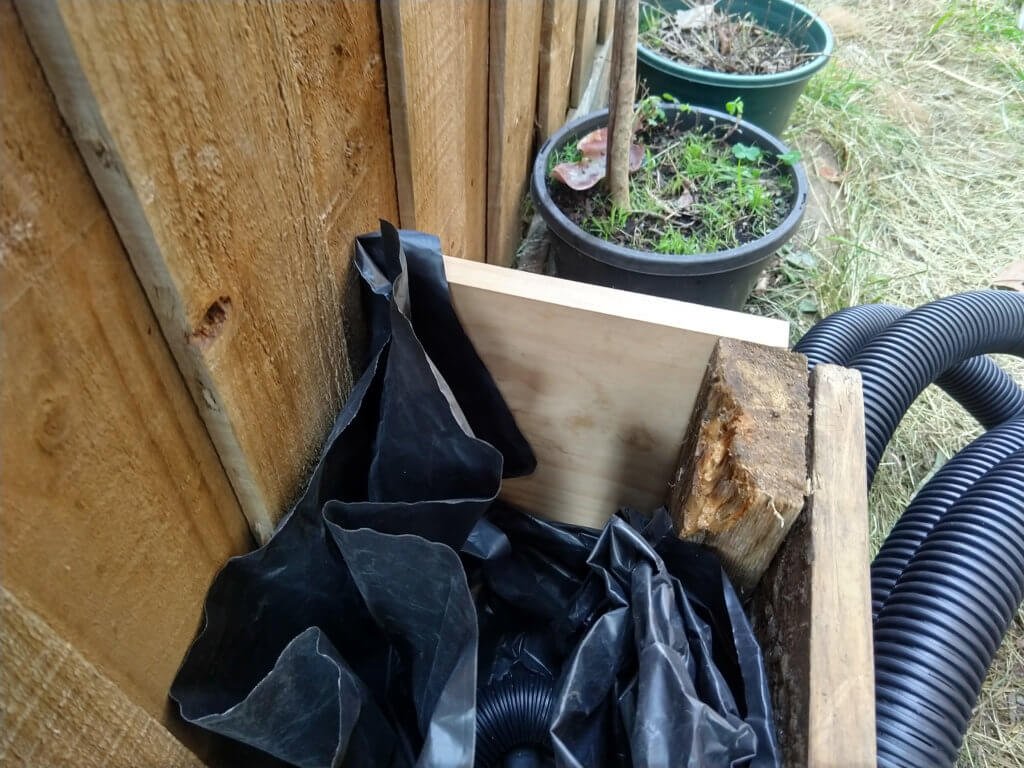
Water dispersal
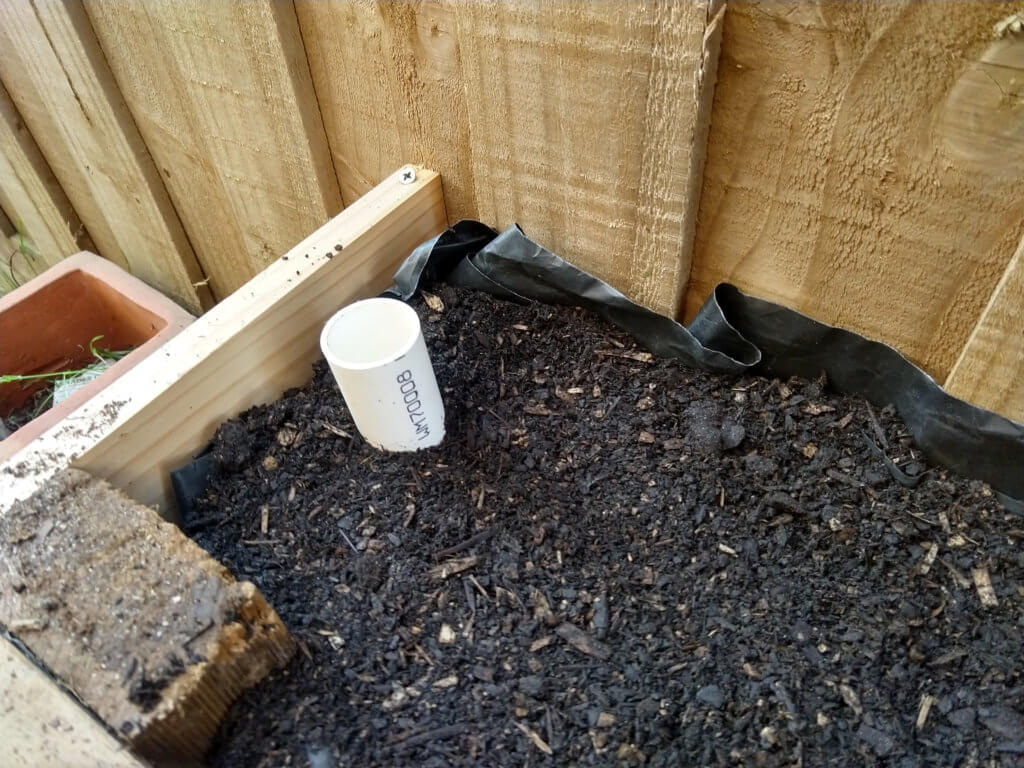
Next, we need something to retain and spread out the water in the base. I’m using just a closed loop of slotted ag pipe with a filler tube inserted into that, in a bed of sand. Water goes in from the top, and it then seeps out all around the bed and gives you damp sand.

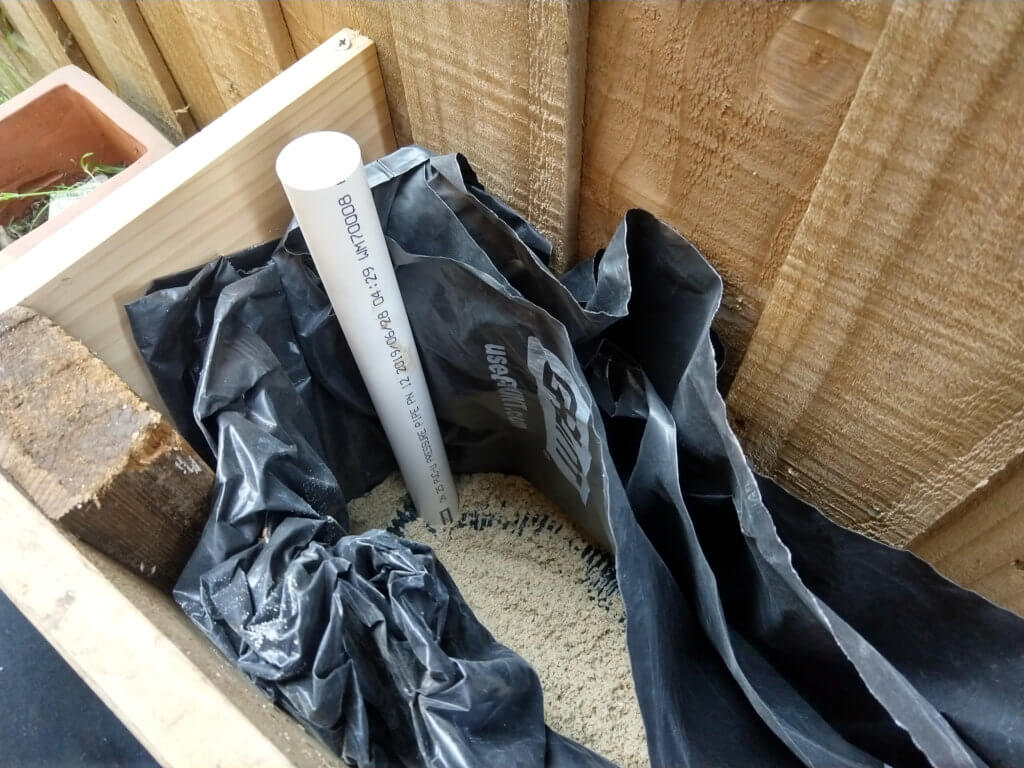
The filler pipe is cut at an angle at the base so it won’t just block. It’s pretty hard for this part not to work, really. It could work more efficiently, I could use a better medium, maybe some loose gravel … but as long as the liner holds, this sand will be wet.
The sand cost $8 a bag and I needed two. As someone who lives relatively close to a beach, it seems insane that sand can have a value like this. I’m going to start a stockpile from whatever I bring home in my shoes from now on.
Mulch
Next I added a layer of weed matting, then a mulch layer. The sources of this mulch were many and varied. Lawn clippings, dead plant matter and some coconut fibre from old window boxes were the majority.
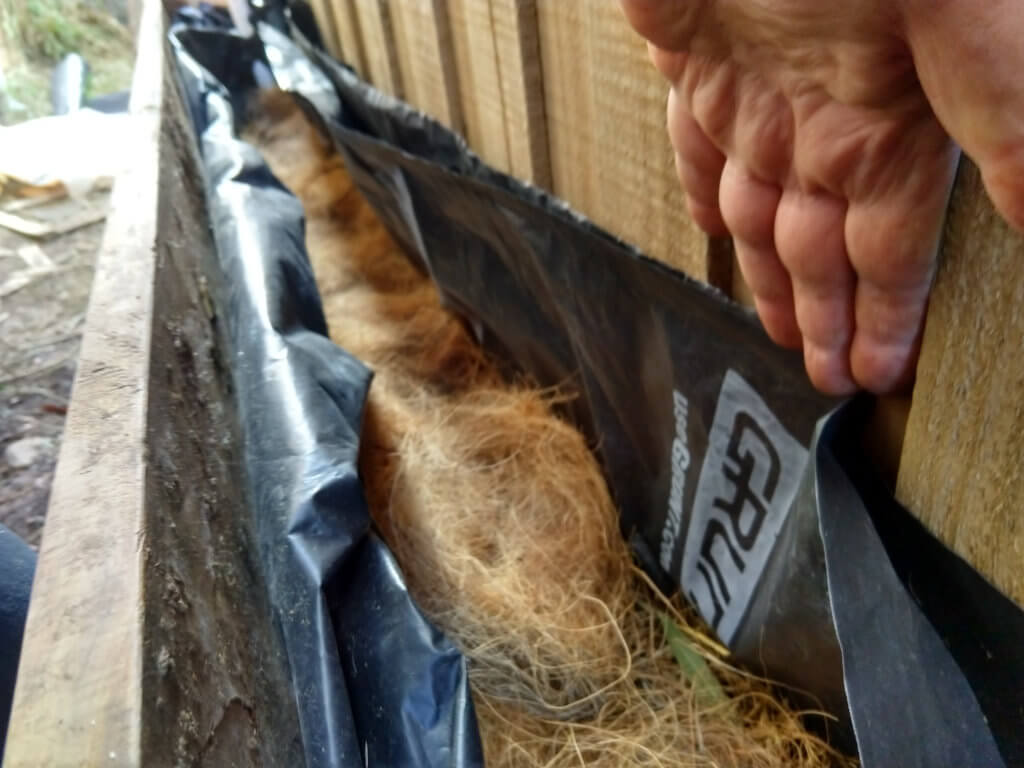
The weed matting will keep my sand pretty pure and I’ll probably be able to reuse it in the future. The mulch here will compress and rot down pretty well, I think. It’s going to be really wet, as it’s just on the transition level where the outlet is. Ideally I should have been more precise about where the layers start and end relative to the water level.
This may turn into smelly, rotten soup. How much of a problem that’ll be, I won’t know until it does or doesn’t happen.
I spent $5 on some weed mat and used about half the roll. Everything else was scavenged from around the garden.
Soil
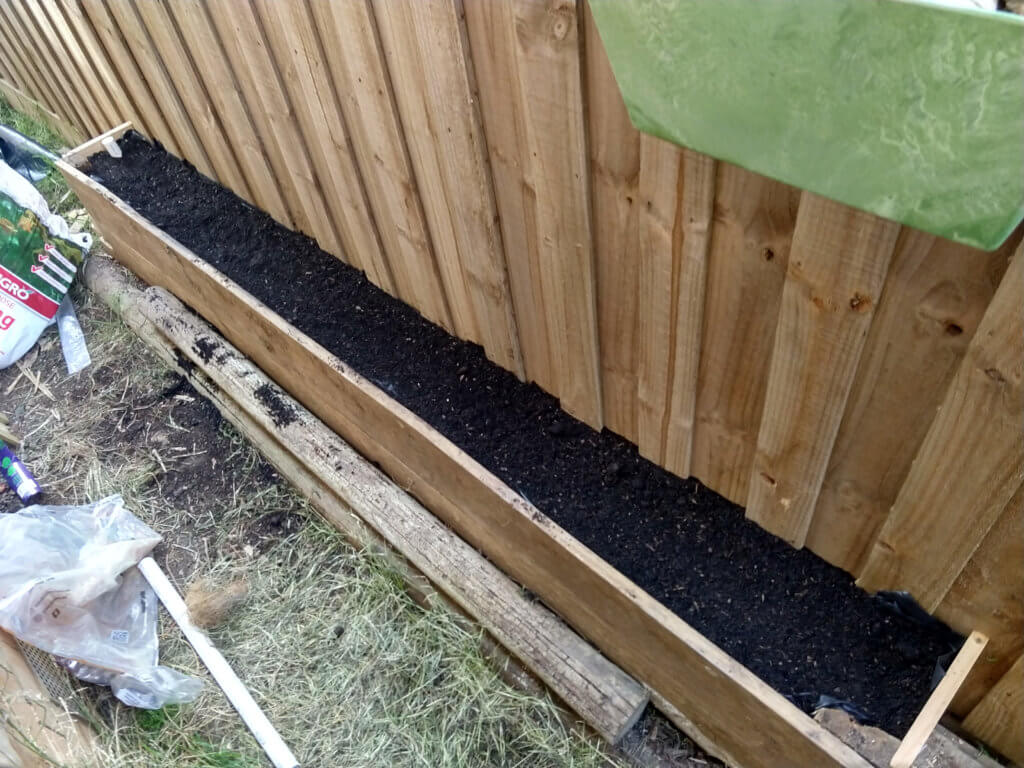
Finally, here’s the bit we’re going to grow things in! I got 4 bags of the cheapest potting mix Bunnings had that day ($4 each). They went on top, after I dumped the contents of a bunch of old pots from around the garden in there. I think I saw some worms. If none show up, I may have to go digging around elsewhere in the yard and forcibly migrate them.
I just can’t bring myself to be a person who pays for worms. There are millions of the little bastards in my yard probably. I’ll go find some.
Is that it?
That’s probably not it. I filled it up until the drain pipe started dripping, which is a good sign. The only place water came out was where it was supposed to come out.
There’s a distinct bulge in the bottom plank, though. Those boards aren’t exactly super-strong, and have been treated rough. I think I can fix this by hammering a garden stake into the ground in the middle, though.
Stay tuned for updates. I now need to see if the soil is remaining damp while there’s water in the base. I’m almost fully decided on what to plant, too – and Spring is just around the corner.